A Field Manual for Citrus Recovery

The Lemon Tree
& Its Second Spring

A complete guide to reviving an old growth lemon tree after bark beetle damage — anatomy, diagnosis, and the techniques that bring dormant wood back to life.

5
Recovery Phases
3
Core Techniques
12
Months of Care
Lemons to Come
Begin reading
Chapter One

A tree, but really two trees

Almost every commercial citrus tree is two genetically distinct plants fused into one — and understanding this is the foundation of every recovery decision you'll make.

Mature lemon tree with abundant fruit

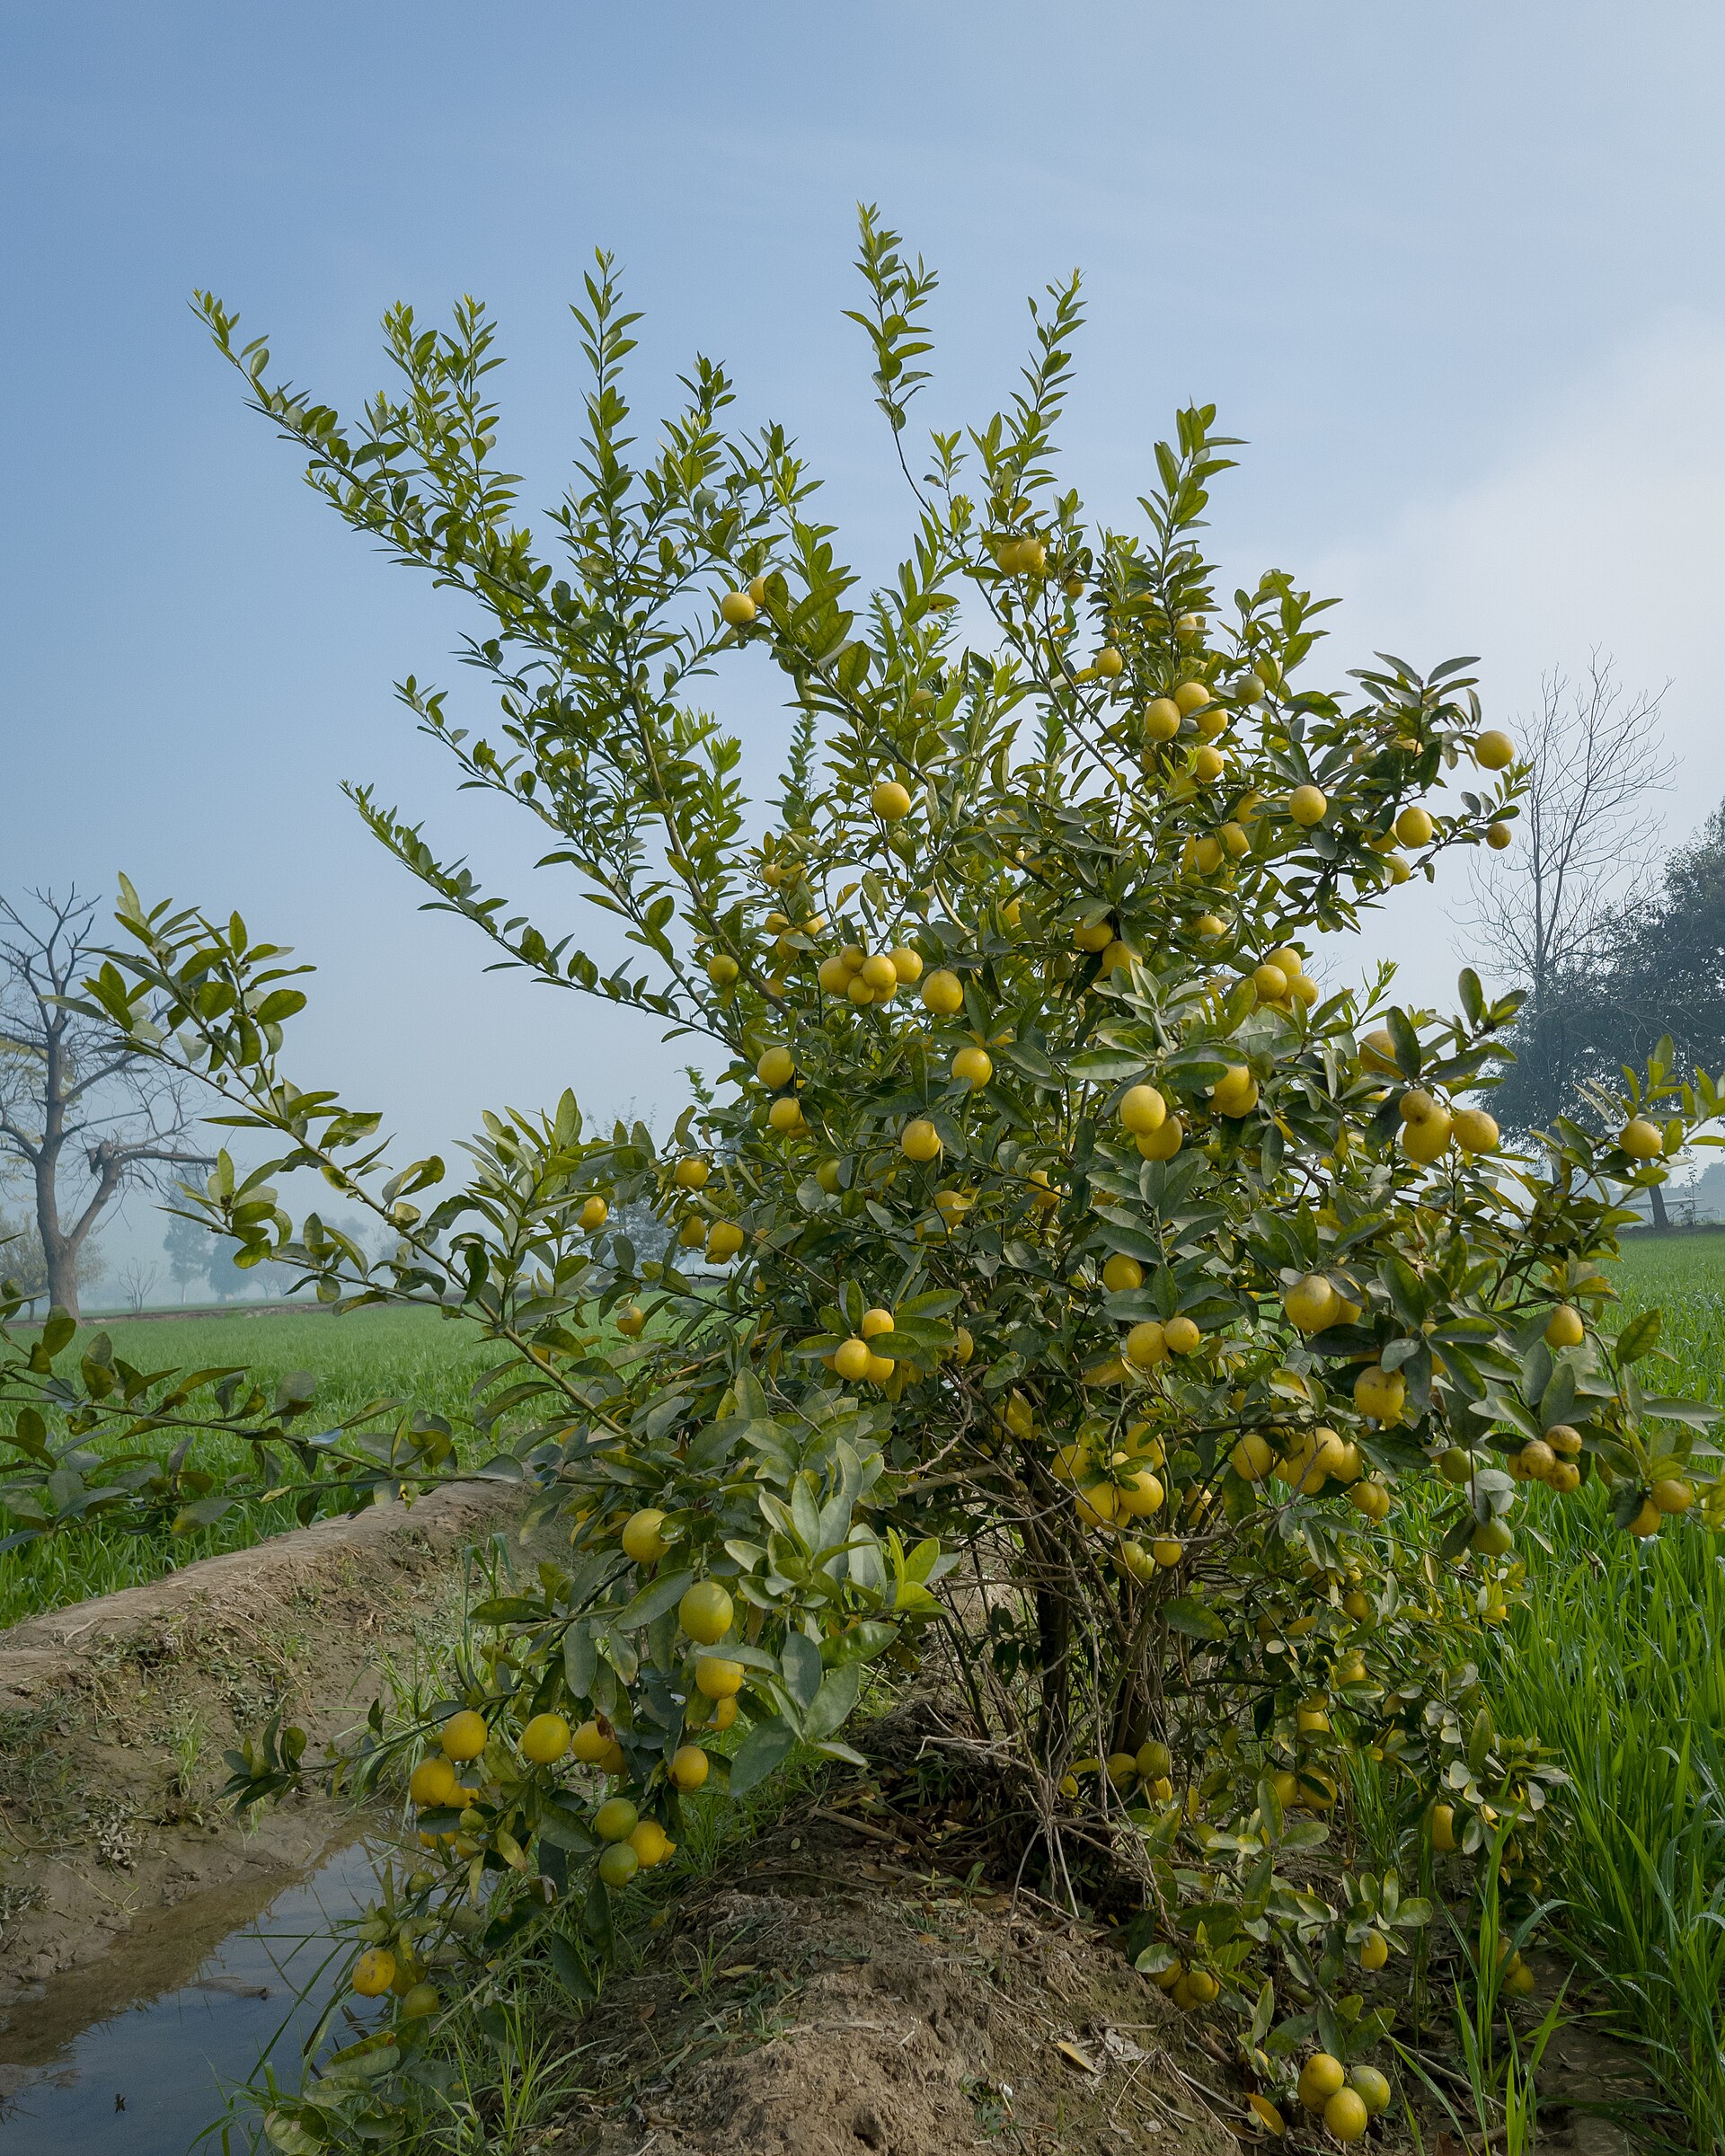
Plate I · A mature lemon tree, the canopy in full production

When you look at your old growth lemon, you're seeing the result of an ancient horticultural marriage. The roots and lower trunk — the rootstock — were chosen for vigor, disease resistance, and adaptability to your soil. The branches and leaves above — the scion — are the actual lemon variety, grafted on as a young bud because it produces the fruit you want. Where they meet is called the bud union, a permanent scar visible on the trunk just above the soil line.

This matters enormously for your recovery. The fact that your scratch test shows green cambium under the bark on the affected side means the scion's vascular system is alive. The rootstock is pumping water and nutrients upward — the engine is running, even if the windows are dark. Your job now is to coax the dormant buds awake and rebuild the canopy without losing the variety to vigorous rootstock takeover.

Köhler's botanical illustration of Citrus limon showing fruit, flowers, leaves, and cross-sections
Plate I-A Köhler's Medizinal-Pflanzen, 1887. The definitive botanical rendering of Citrus limon — fruit, flower, leaf, and seed cross-sections.
Botanical illustration of a lemon branch with fruit and flowers
Plate I-B Branch with fruit and flowers. The scion produces all the fruiting wood — every lemon on your tree comes from the grafted variety above the bud union.
Botanical illustration of Citrus limon by Rungiah
PART 01 OF 05

The Scion

Everything above the bud union — the actual lemon variety. This is the genetic identity of your tree. When you scratch bark and find green underneath, this living scion tissue is what you're seeing. The branches you want to recover are all scion wood.

✓ Your lemon variety ✓ Producing fruit Above the union
2
Genetically Distinct Trees
4–12
Bud Union Above Soil
100+
Years Tree May Live
95%
Citrus Trees Are Grafted

Green cambium under intact bark means the tree is alive and dormant, not dead. The engine is running — the windows are simply dark.

— First Principle of Tree Triage
Chapter Two

The scratch test

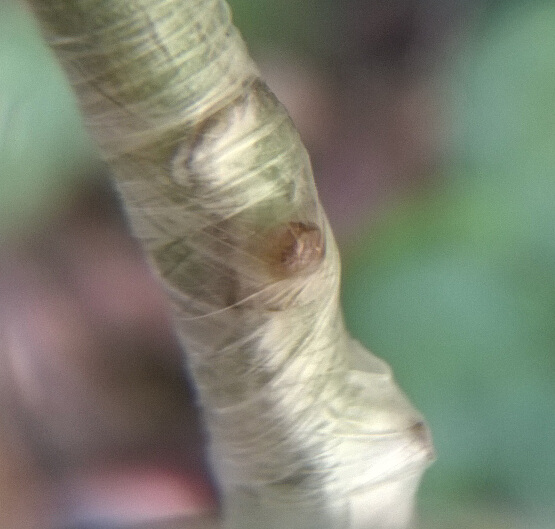
Your most important diagnostic tool requires nothing but a fingernail. What you see beneath the bark tells you everything about whether a branch can be saved.

Close-up of tree bark texture
Plate II-A Bark texture — beneath this outer layer lies the cambium, the thin green margin between bark and wood.
Bark beetle damage on a tree trunk
Plate II-B Bark beetle damage. The beetles bore through bark into the cambium, disrupting the vascular system. Your tree survived — now assess the extent.

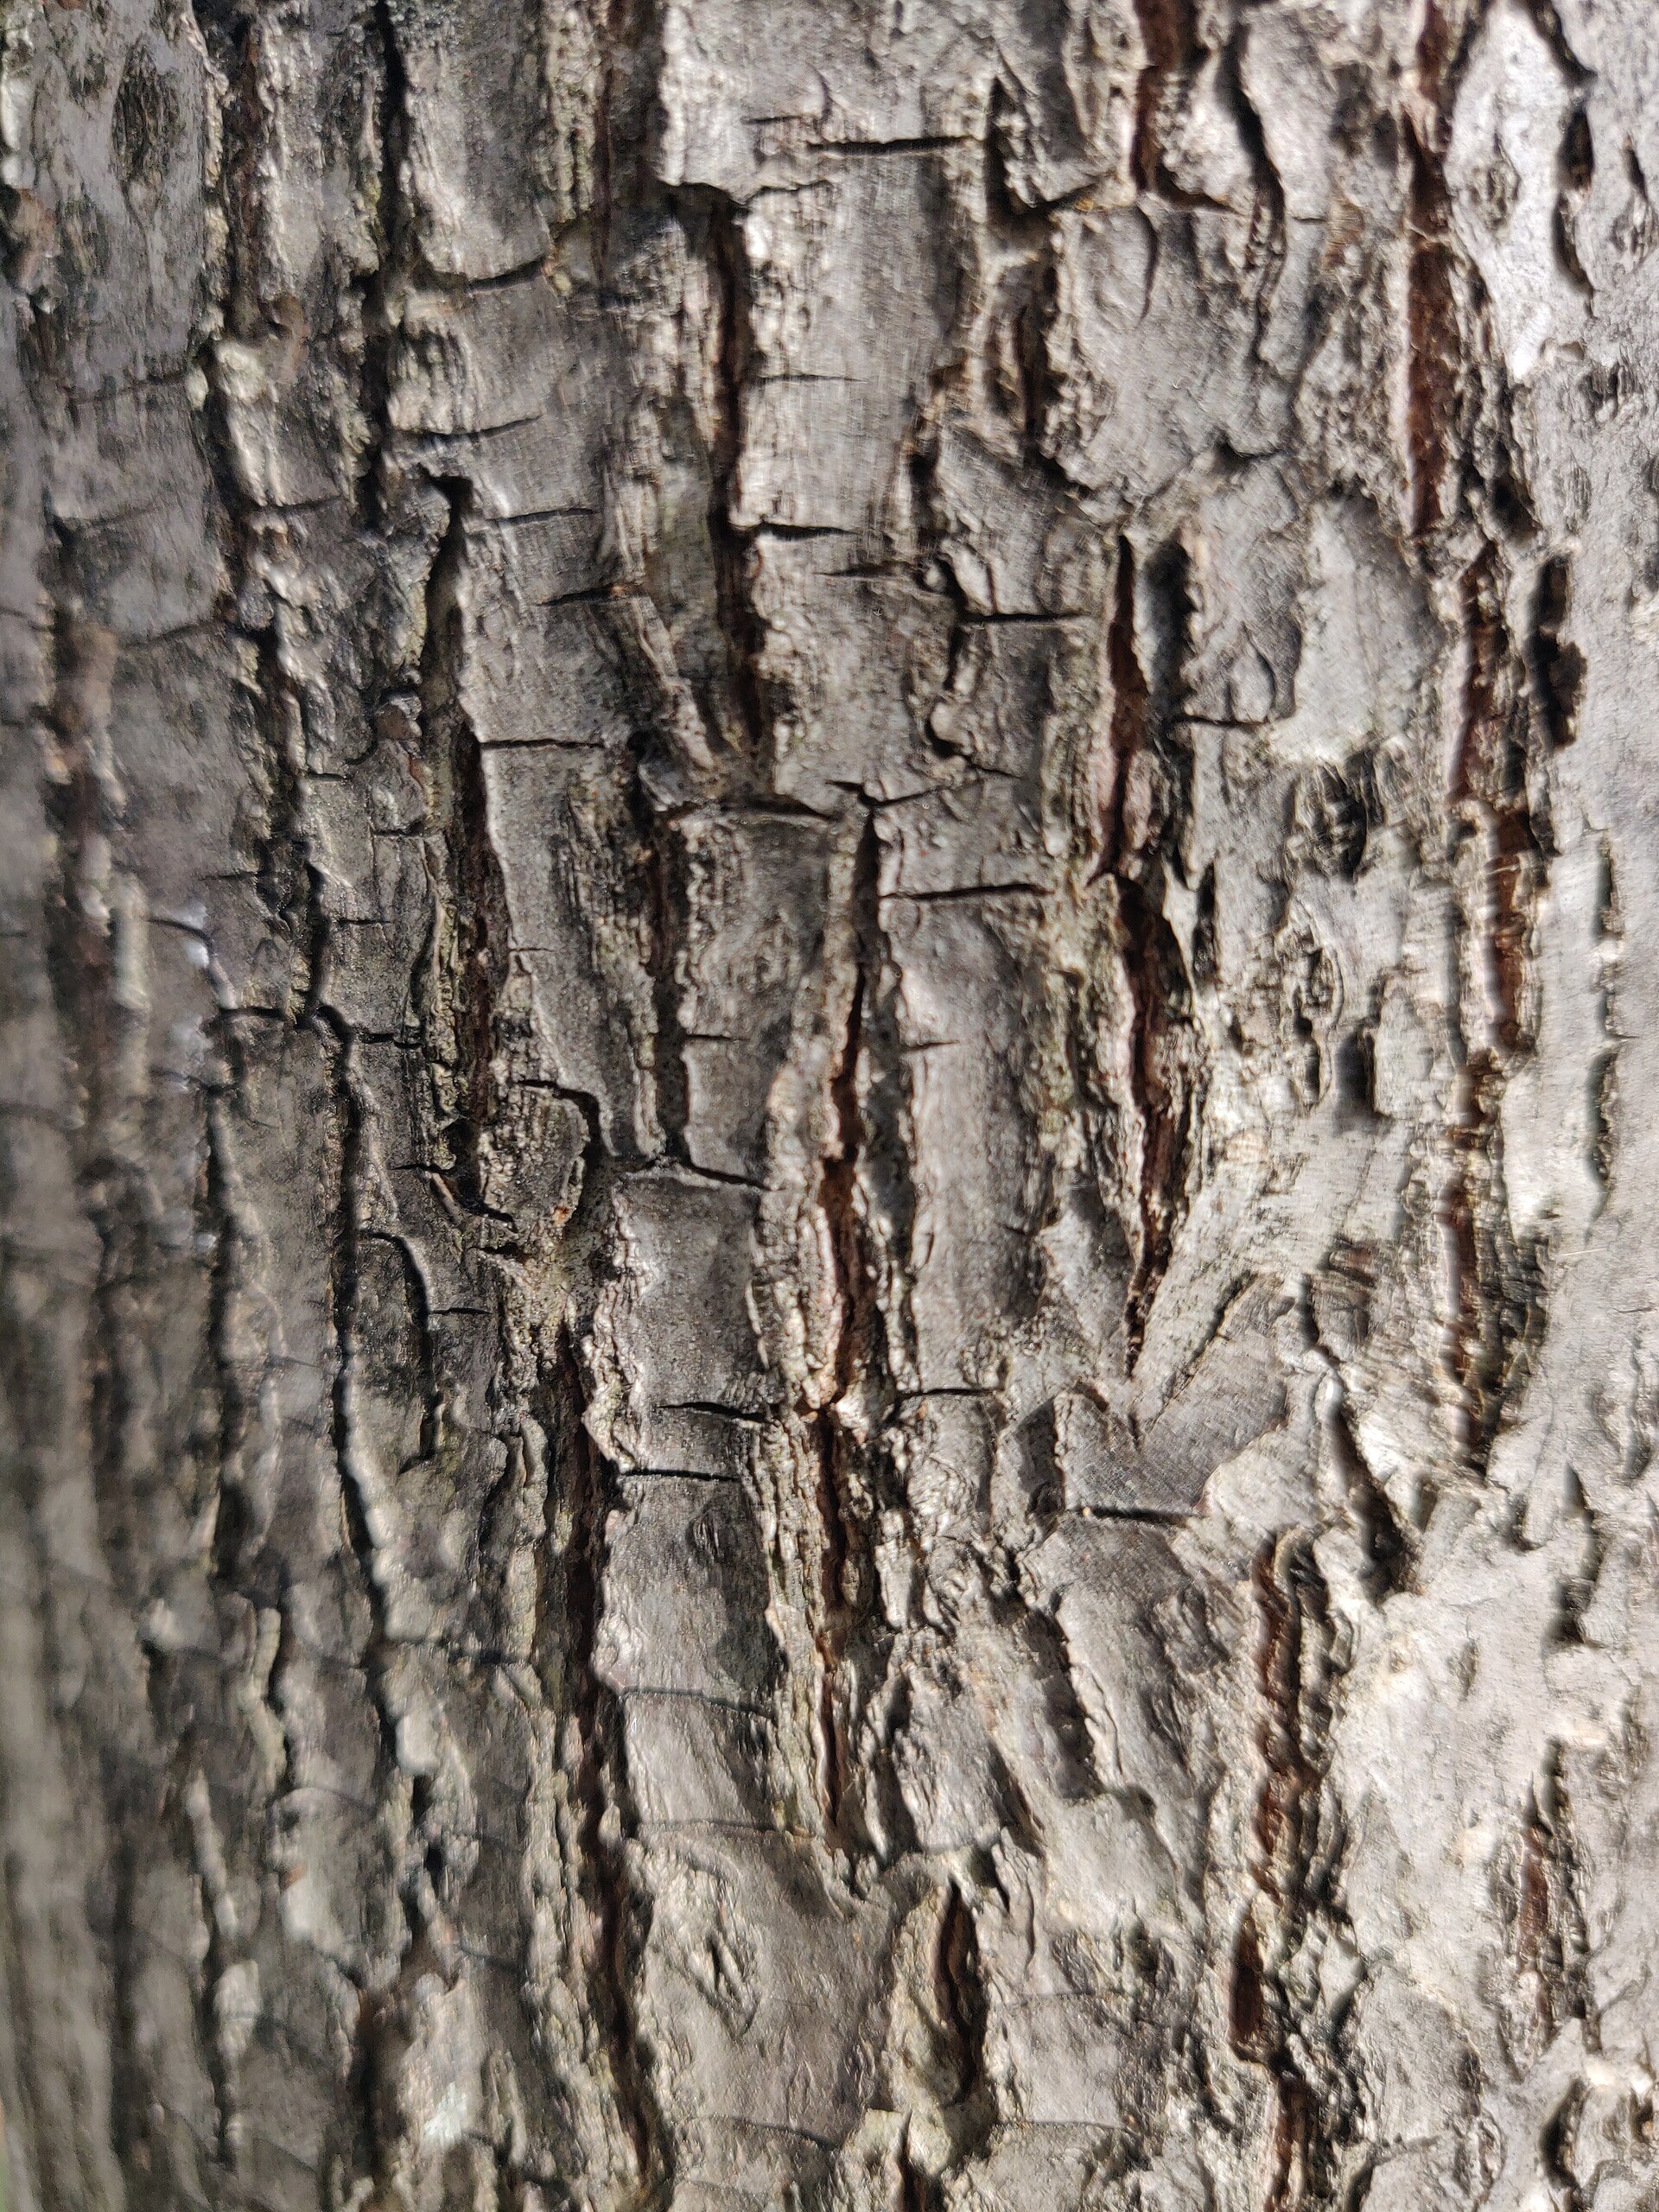
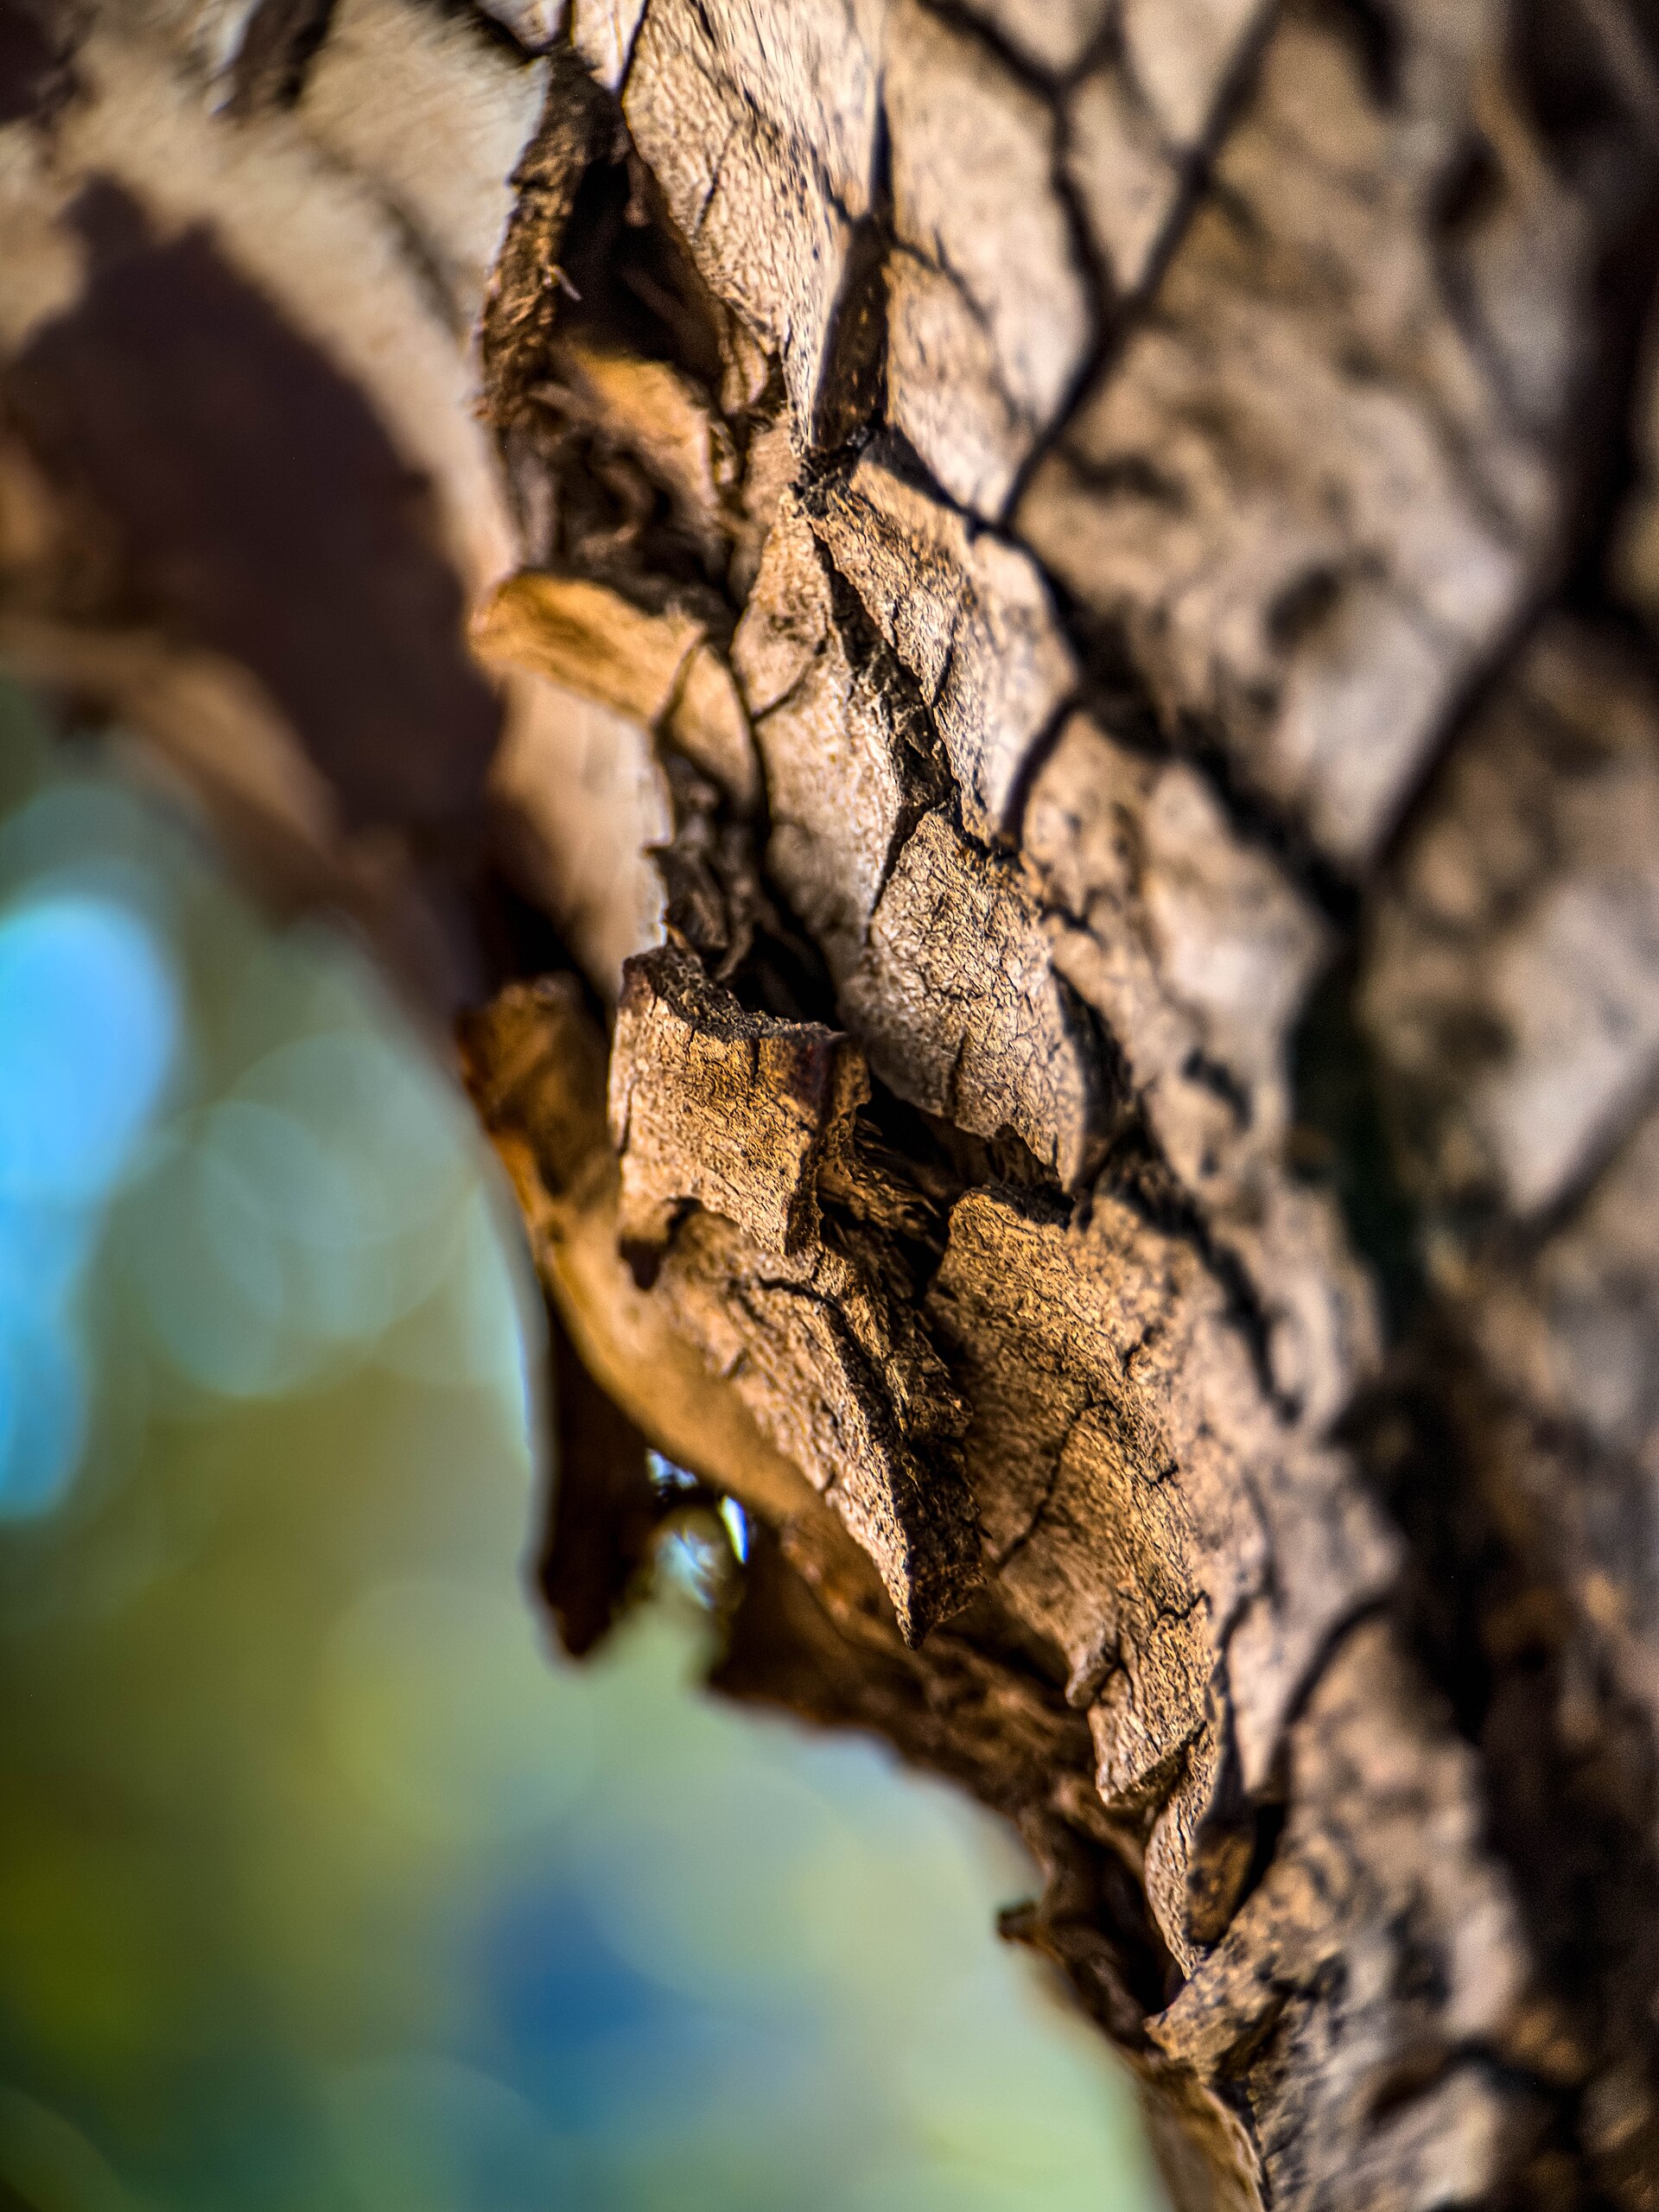
Take your thumbnail to any branch you're uncertain about. Press firmly enough to break through the thin outer bark, but not so hard that you gouge the wood underneath. The exposed layer — what botanists call the cambium — is the tree's vascular tissue, the thin band of living cells responsible for moving water, nutrients, and sugars between roots and leaves. This is where life either persists or has fled.

🌿
Diagnosis 01

Green beneath

Bright or pale green tissue means the cambium is alive. The branch may be dormant or stress-suppressed, but it has the vascular capacity to push new growth. Do not remove this branch — it's a candidate for stimulation.

→ Wake it up with notching, heading cuts, or grafting
🥀
Diagnosis 02

Brown beneath

Dry, brown, or hollow tissue means the cambium is dead. No water can flow through this branch — it cannot leaf out. Test 6–12 inches further down; sometimes only the tip is dead and the rest of the branch is still alive.
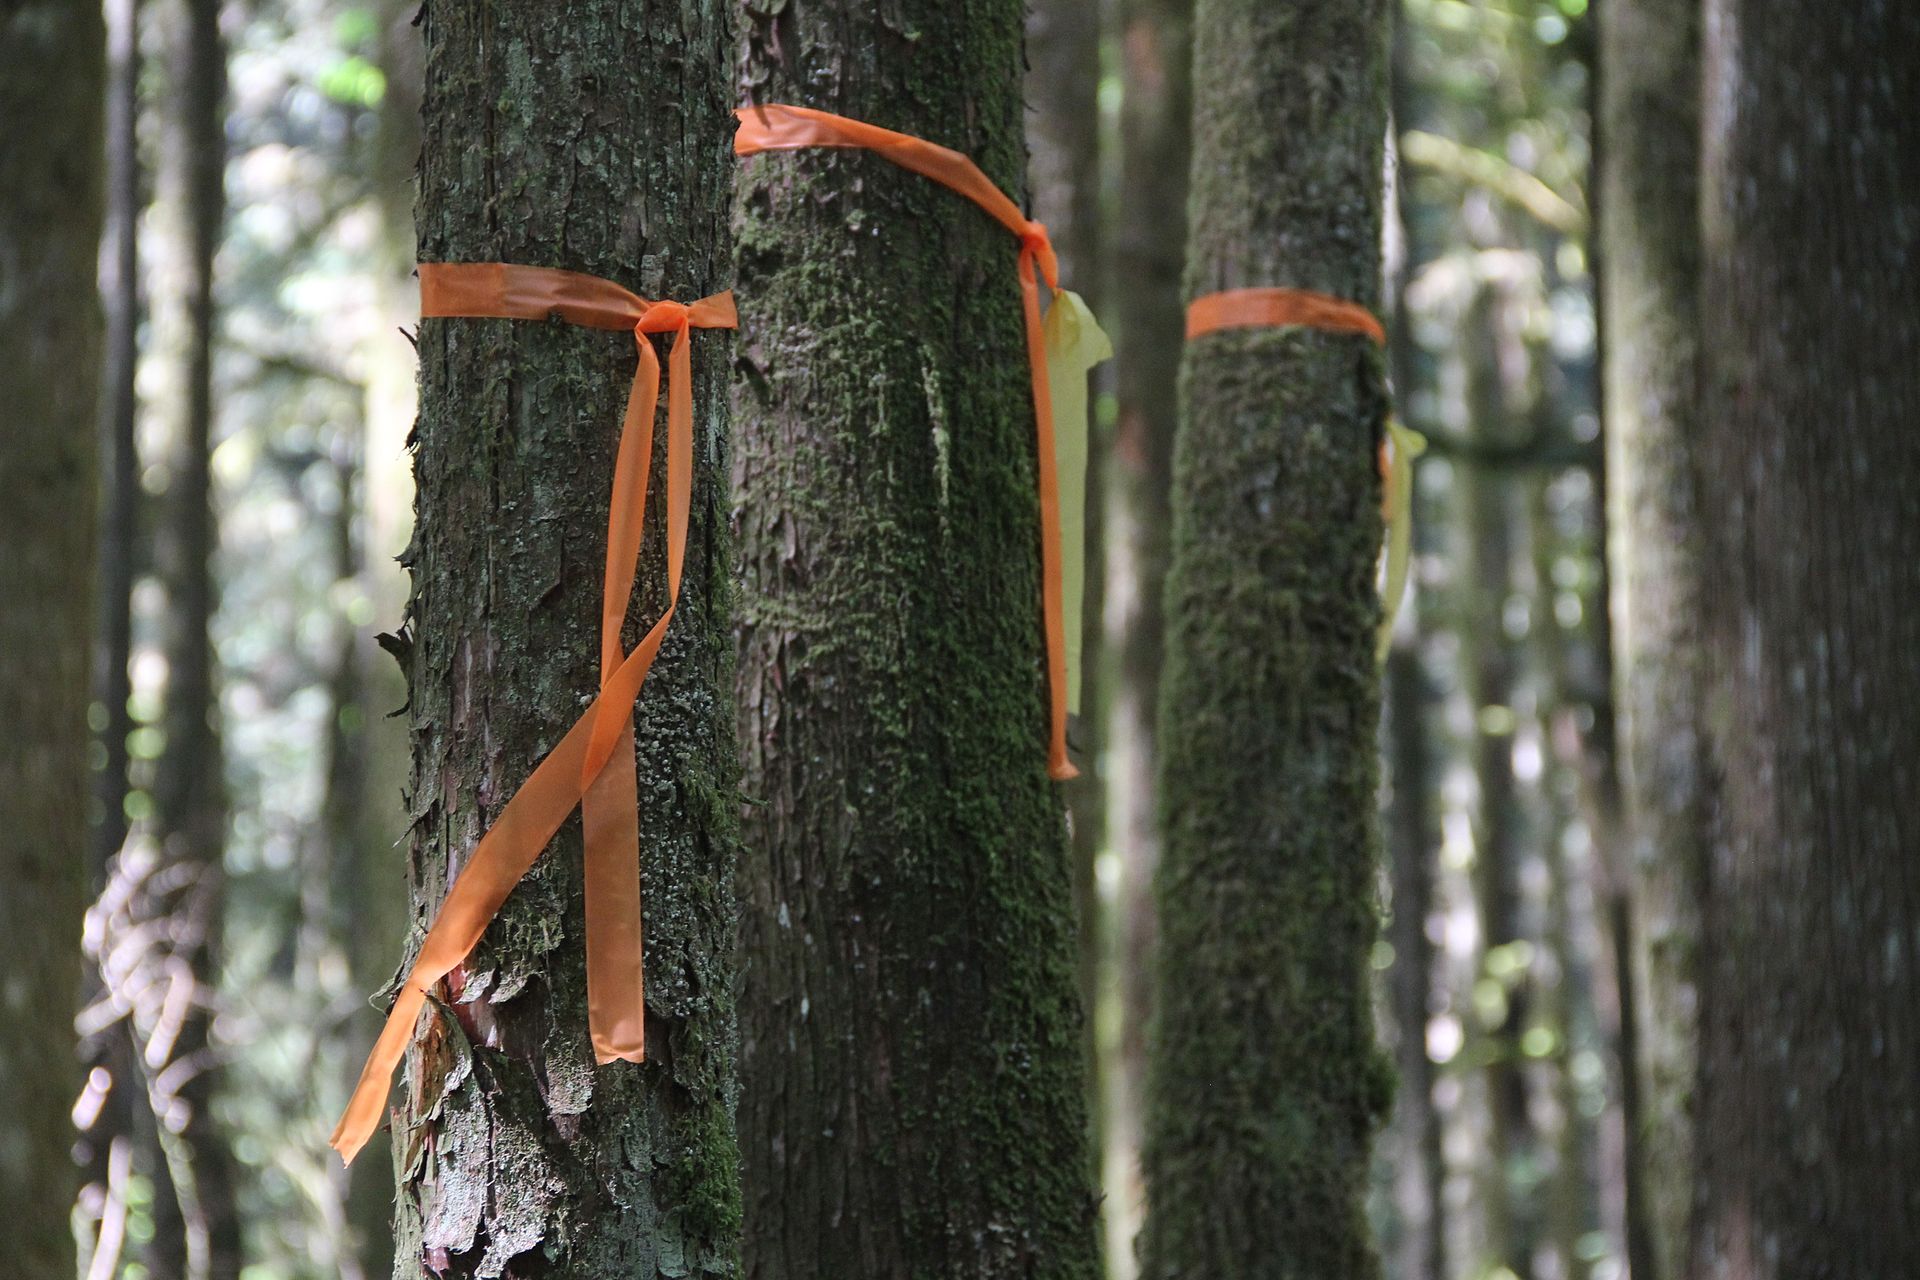
→ Cut back to the nearest living tissue

Mapping your tree

The mistake most people make is testing one or two spots and drawing conclusions about the whole tree. Crown dieback is irregular: a tree can have entirely dead upper branches above completely viable lower wood, or one whole side compromised while the other thrives. Test broadly before you cut anything.

Carry colored tape with you and mark each branch as you test — green tape for live cambium, red tape for dead. Test at the tip, at the midpoint, and where the branch joins a larger limb. A dead 18-inch tip on an otherwise living branch is no cause for alarm; an entire structural limb showing brown throughout is a different conversation.

Microscopy cross-section showing cambium, phloem, and xylem layers
Plate II-C Cross-section under magnification — the cambium layer (bright band) between phloem (outer) and xylem (inner wood).
Cross-section through a tree trunk showing growth rings and tissue layers
Plate II-D Trunk cross-section showing growth rings. The cambium sits at the outermost edge of the wood — the first thing you reach when you scratch through bark.
☀️
One important caveat for SoCal coastal trees Even if some upper branches read as dead, leave them in place for now. Citrus bark sunburns easily, and dead upper limbs provide essential shade for lower branches that may have been in shadow for years. Once the lower branches push their own leaves and create their own shade, you can remove the dead upper framework safely.
Chapter Three

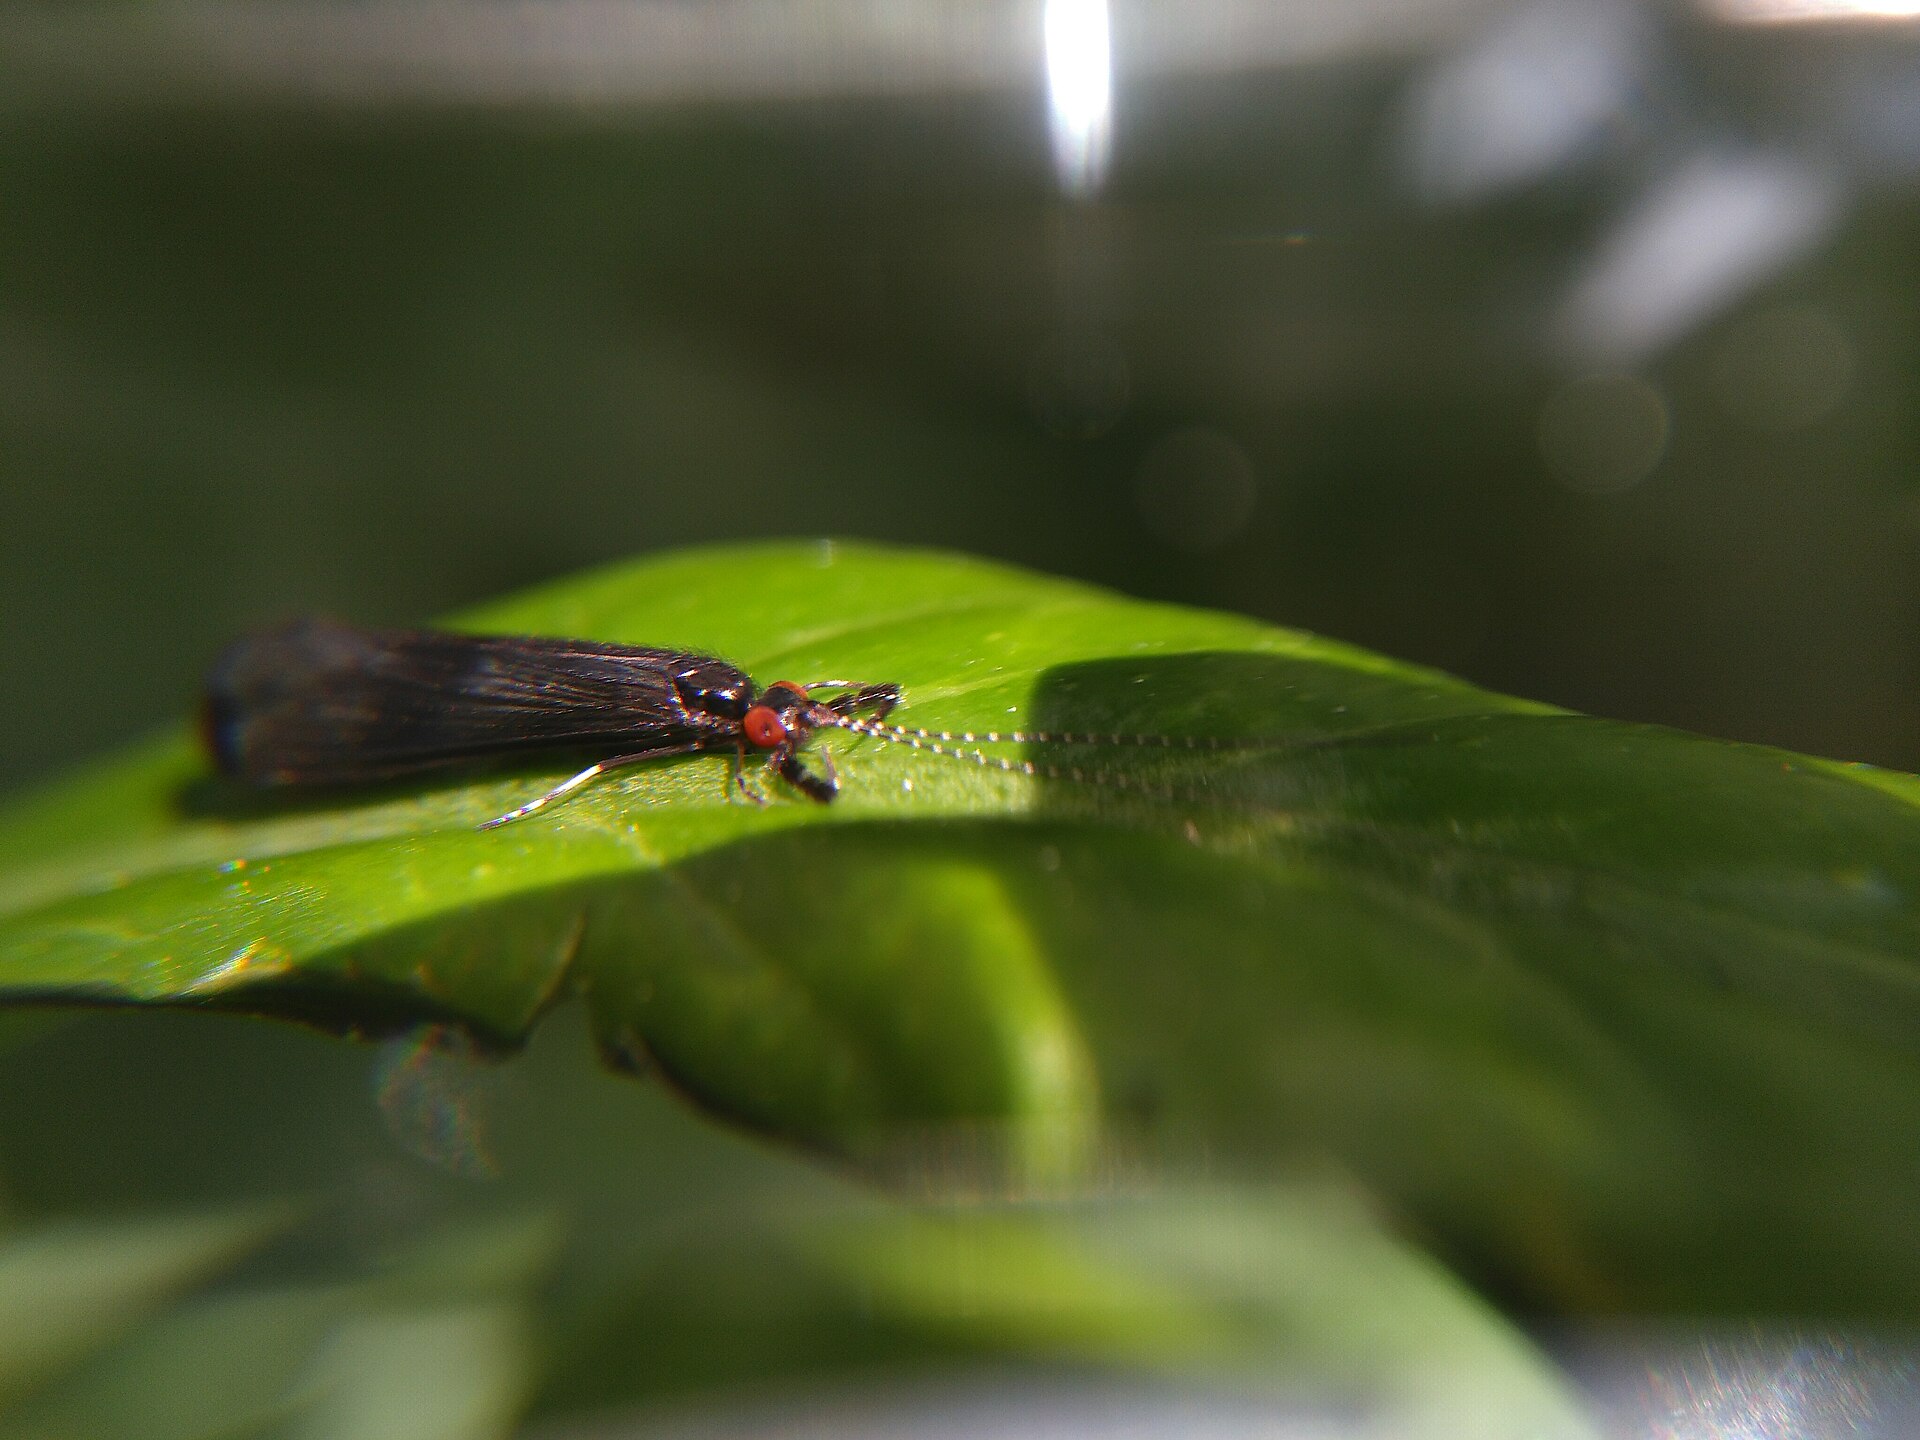
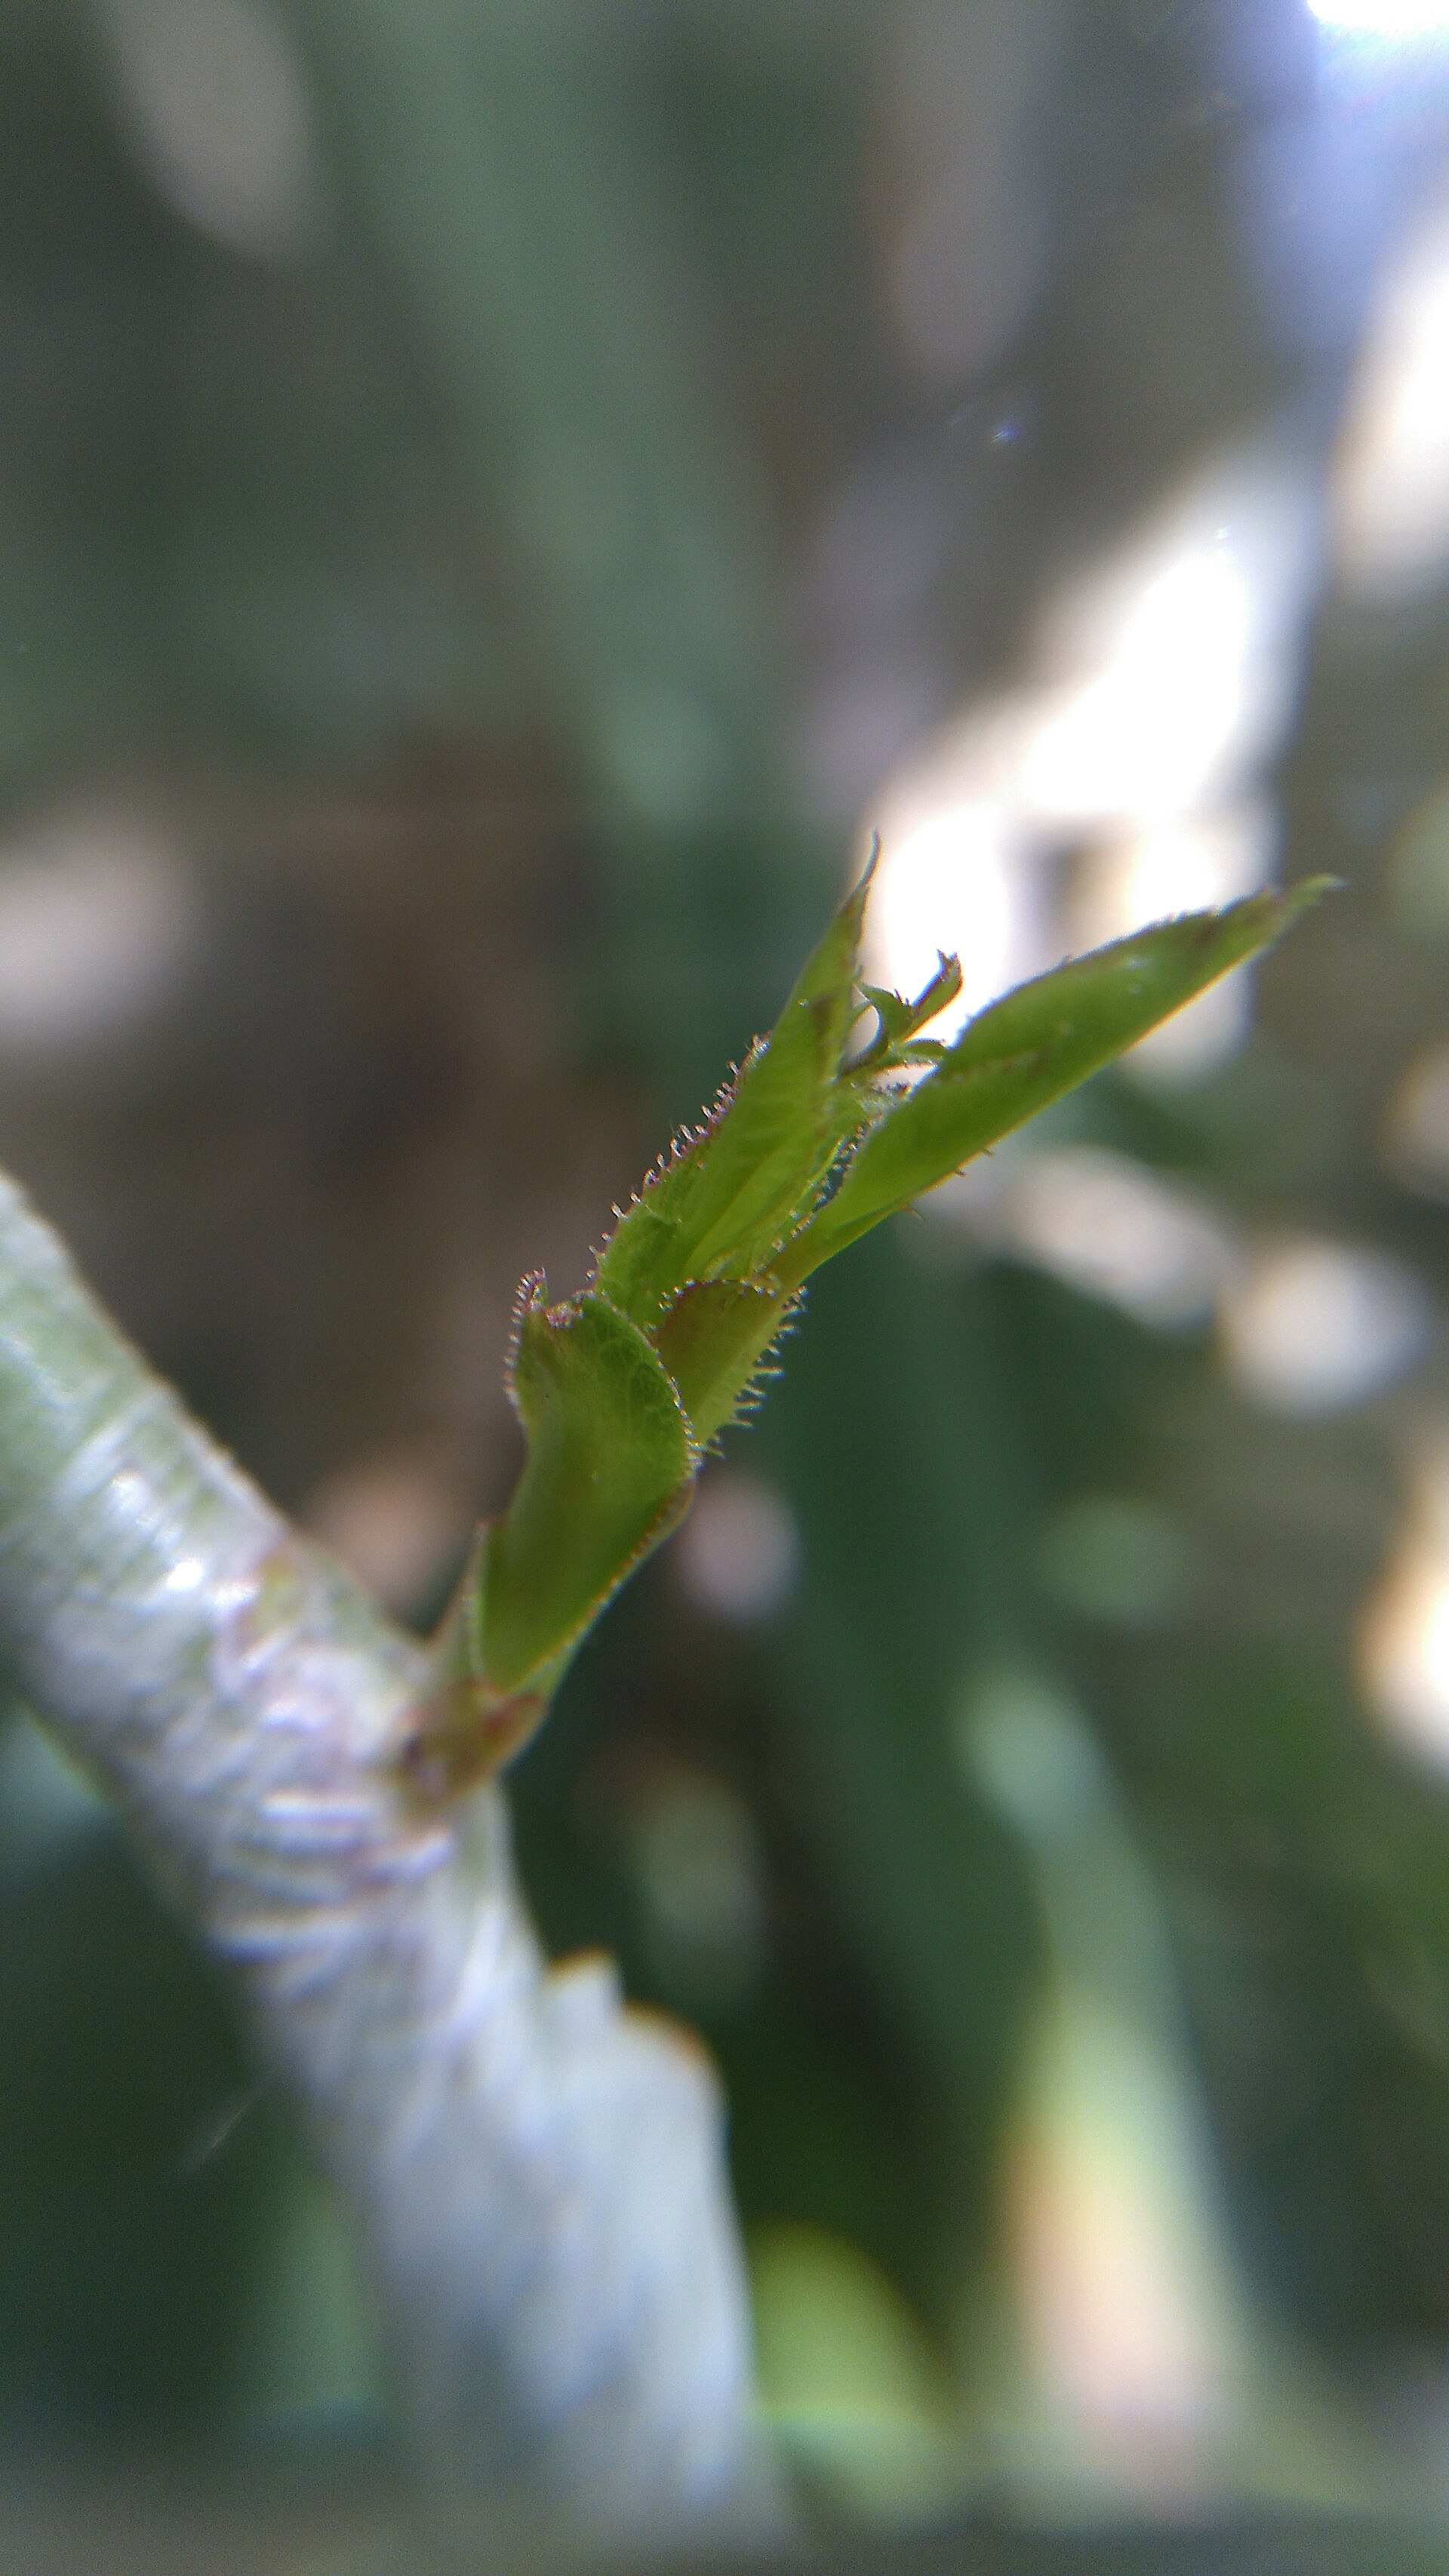
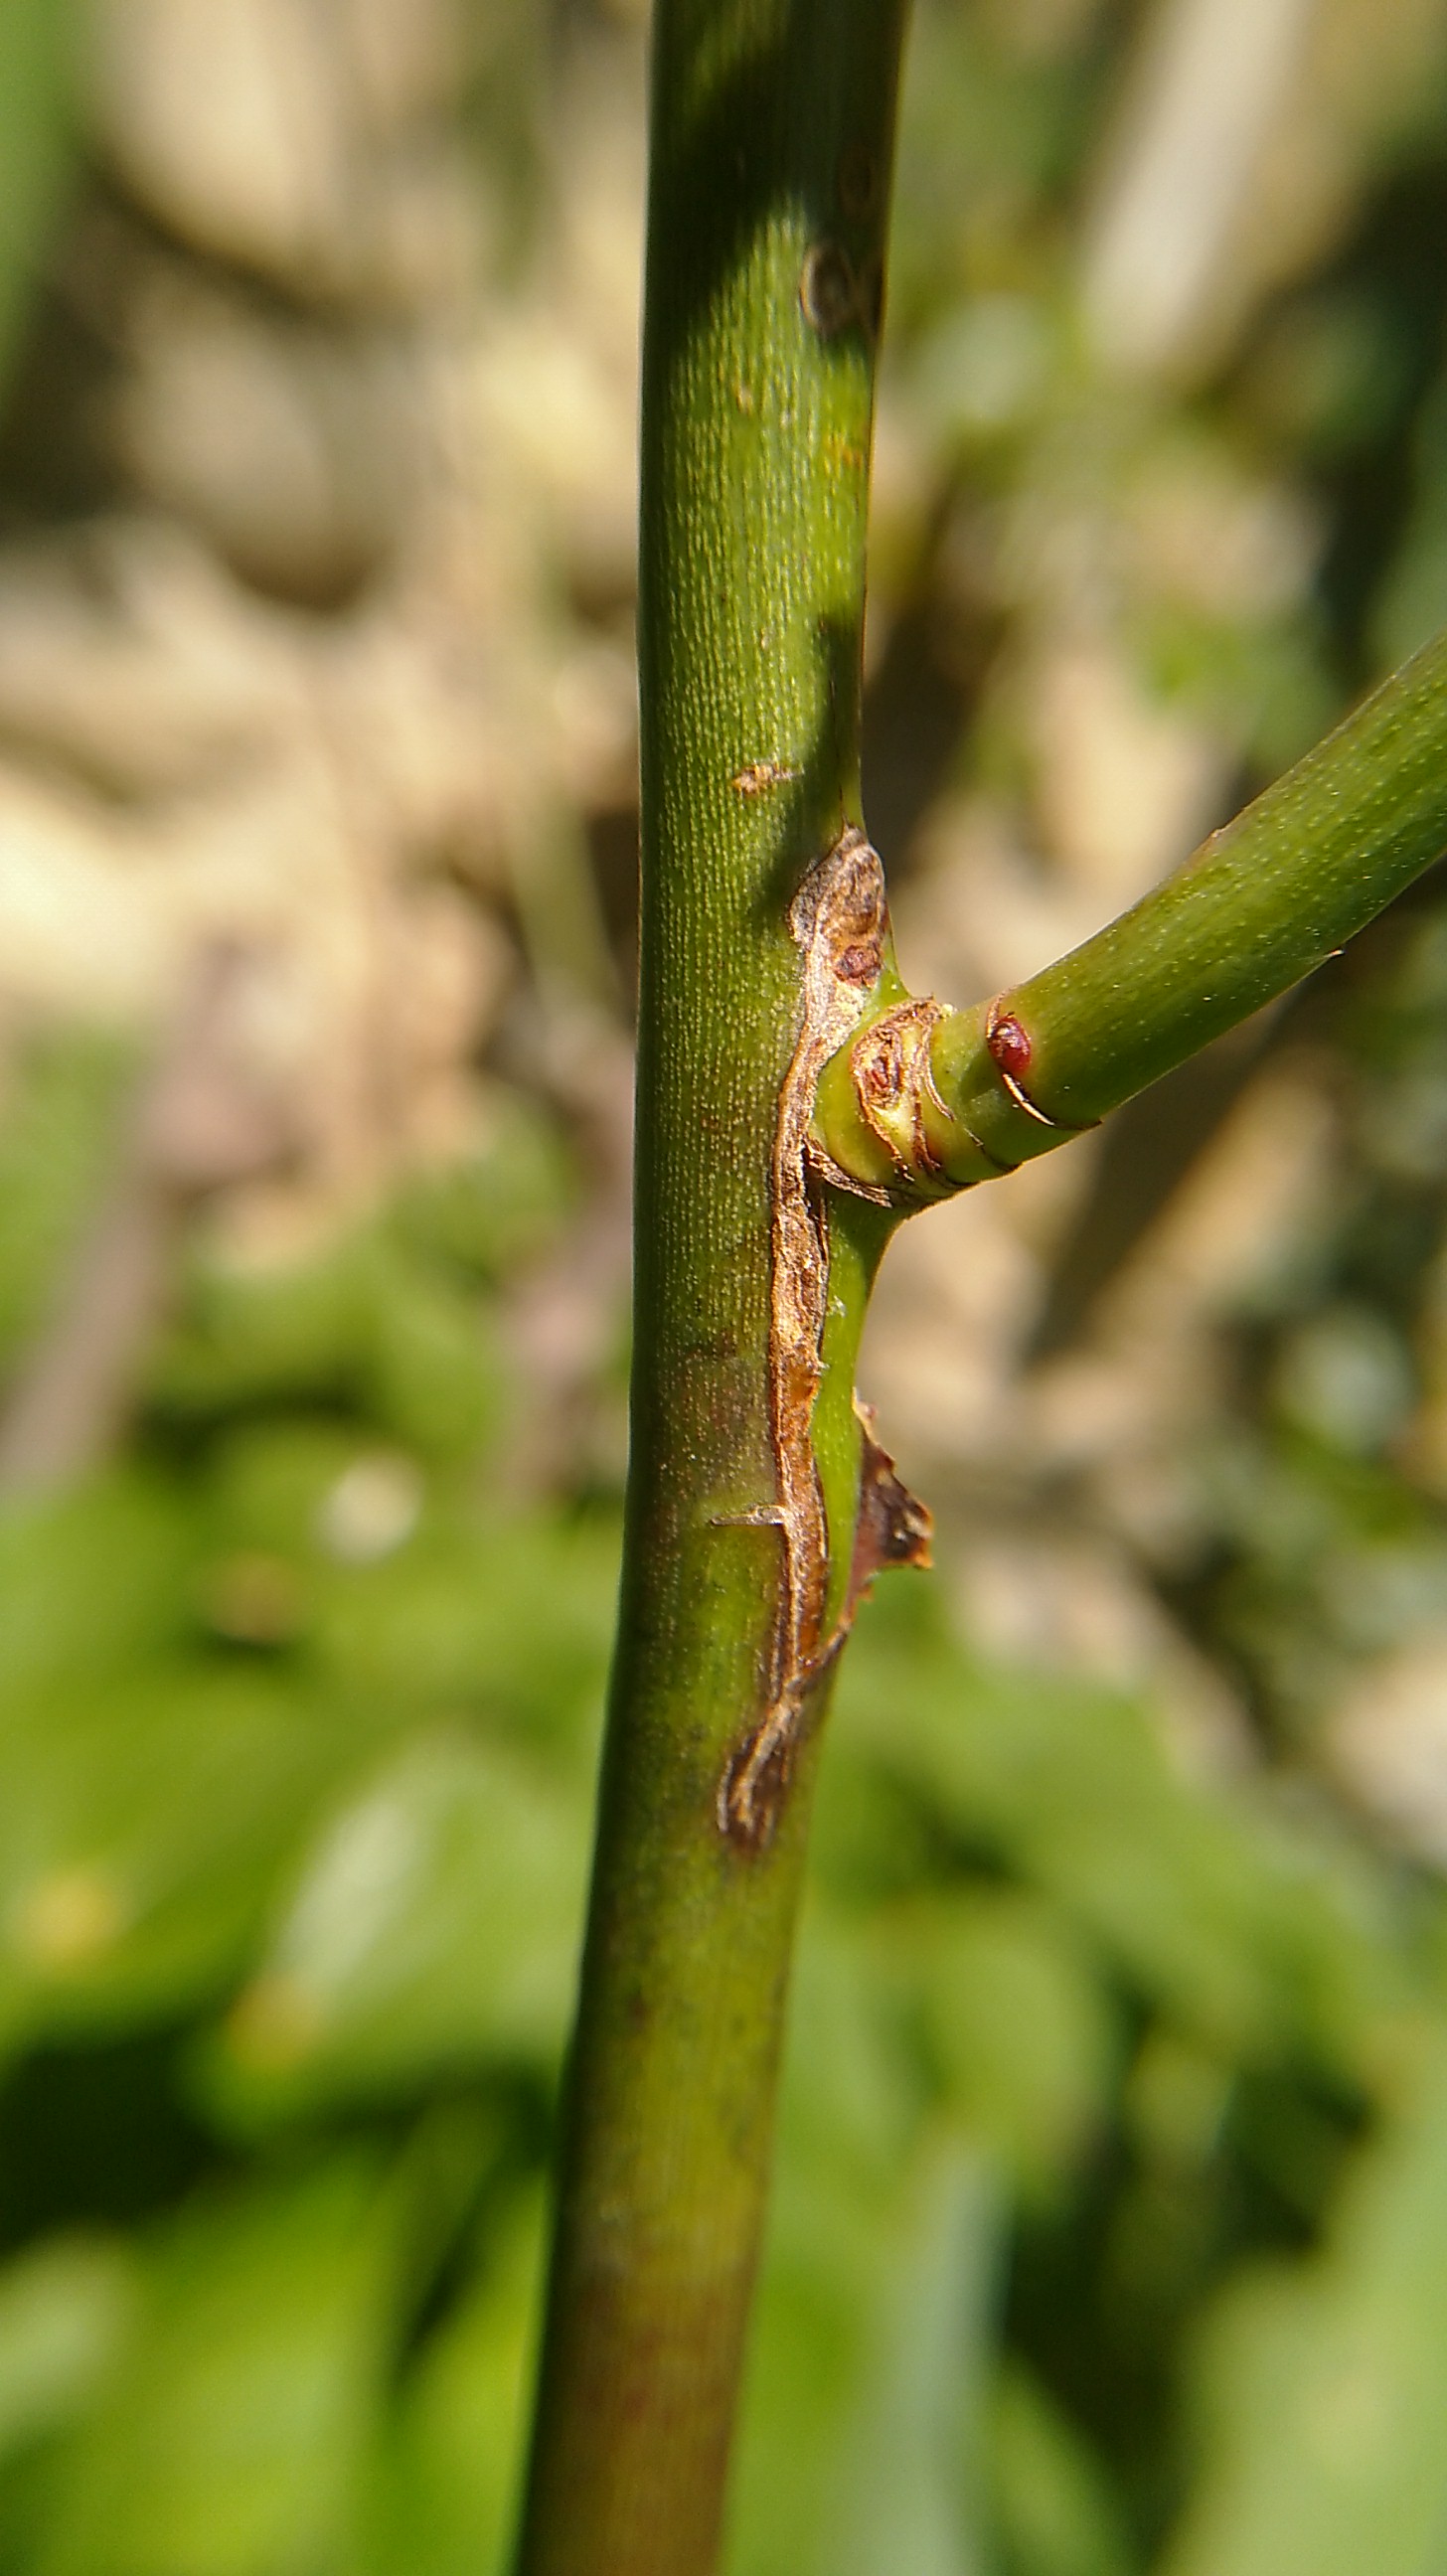
The language of thorns

Thorns on your tree aren't just a nuisance — they're a diagnostic signal. Where they appear and what their leaves look like tells you whether you're seeing your lemon variety or a hostile takeover.

Citrus produces thorns most aggressively when it's young or when it's putting out vigorous juvenile-style growth. As wood matures into productive fruiting branches, thorns diminish or disappear entirely. So mature, lightly-thorned wood on your established canopy is normal and good — that's your fruiting wood, doing its job.

But when you find aggressively thorned shoots near the base of the trunk, especially low on the rootstock or coming up from soil level, you've found something else entirely. Most common citrus rootstocks — Trifoliate orange, Carrizo citrange, Swingle citrumelo — are notoriously thorny. They are also genetically distinct from your lemon scion, which means any growth they push out will produce inedible fruit and, if left unchecked, will eventually outcompete and dominate the canopy you're trying to save.
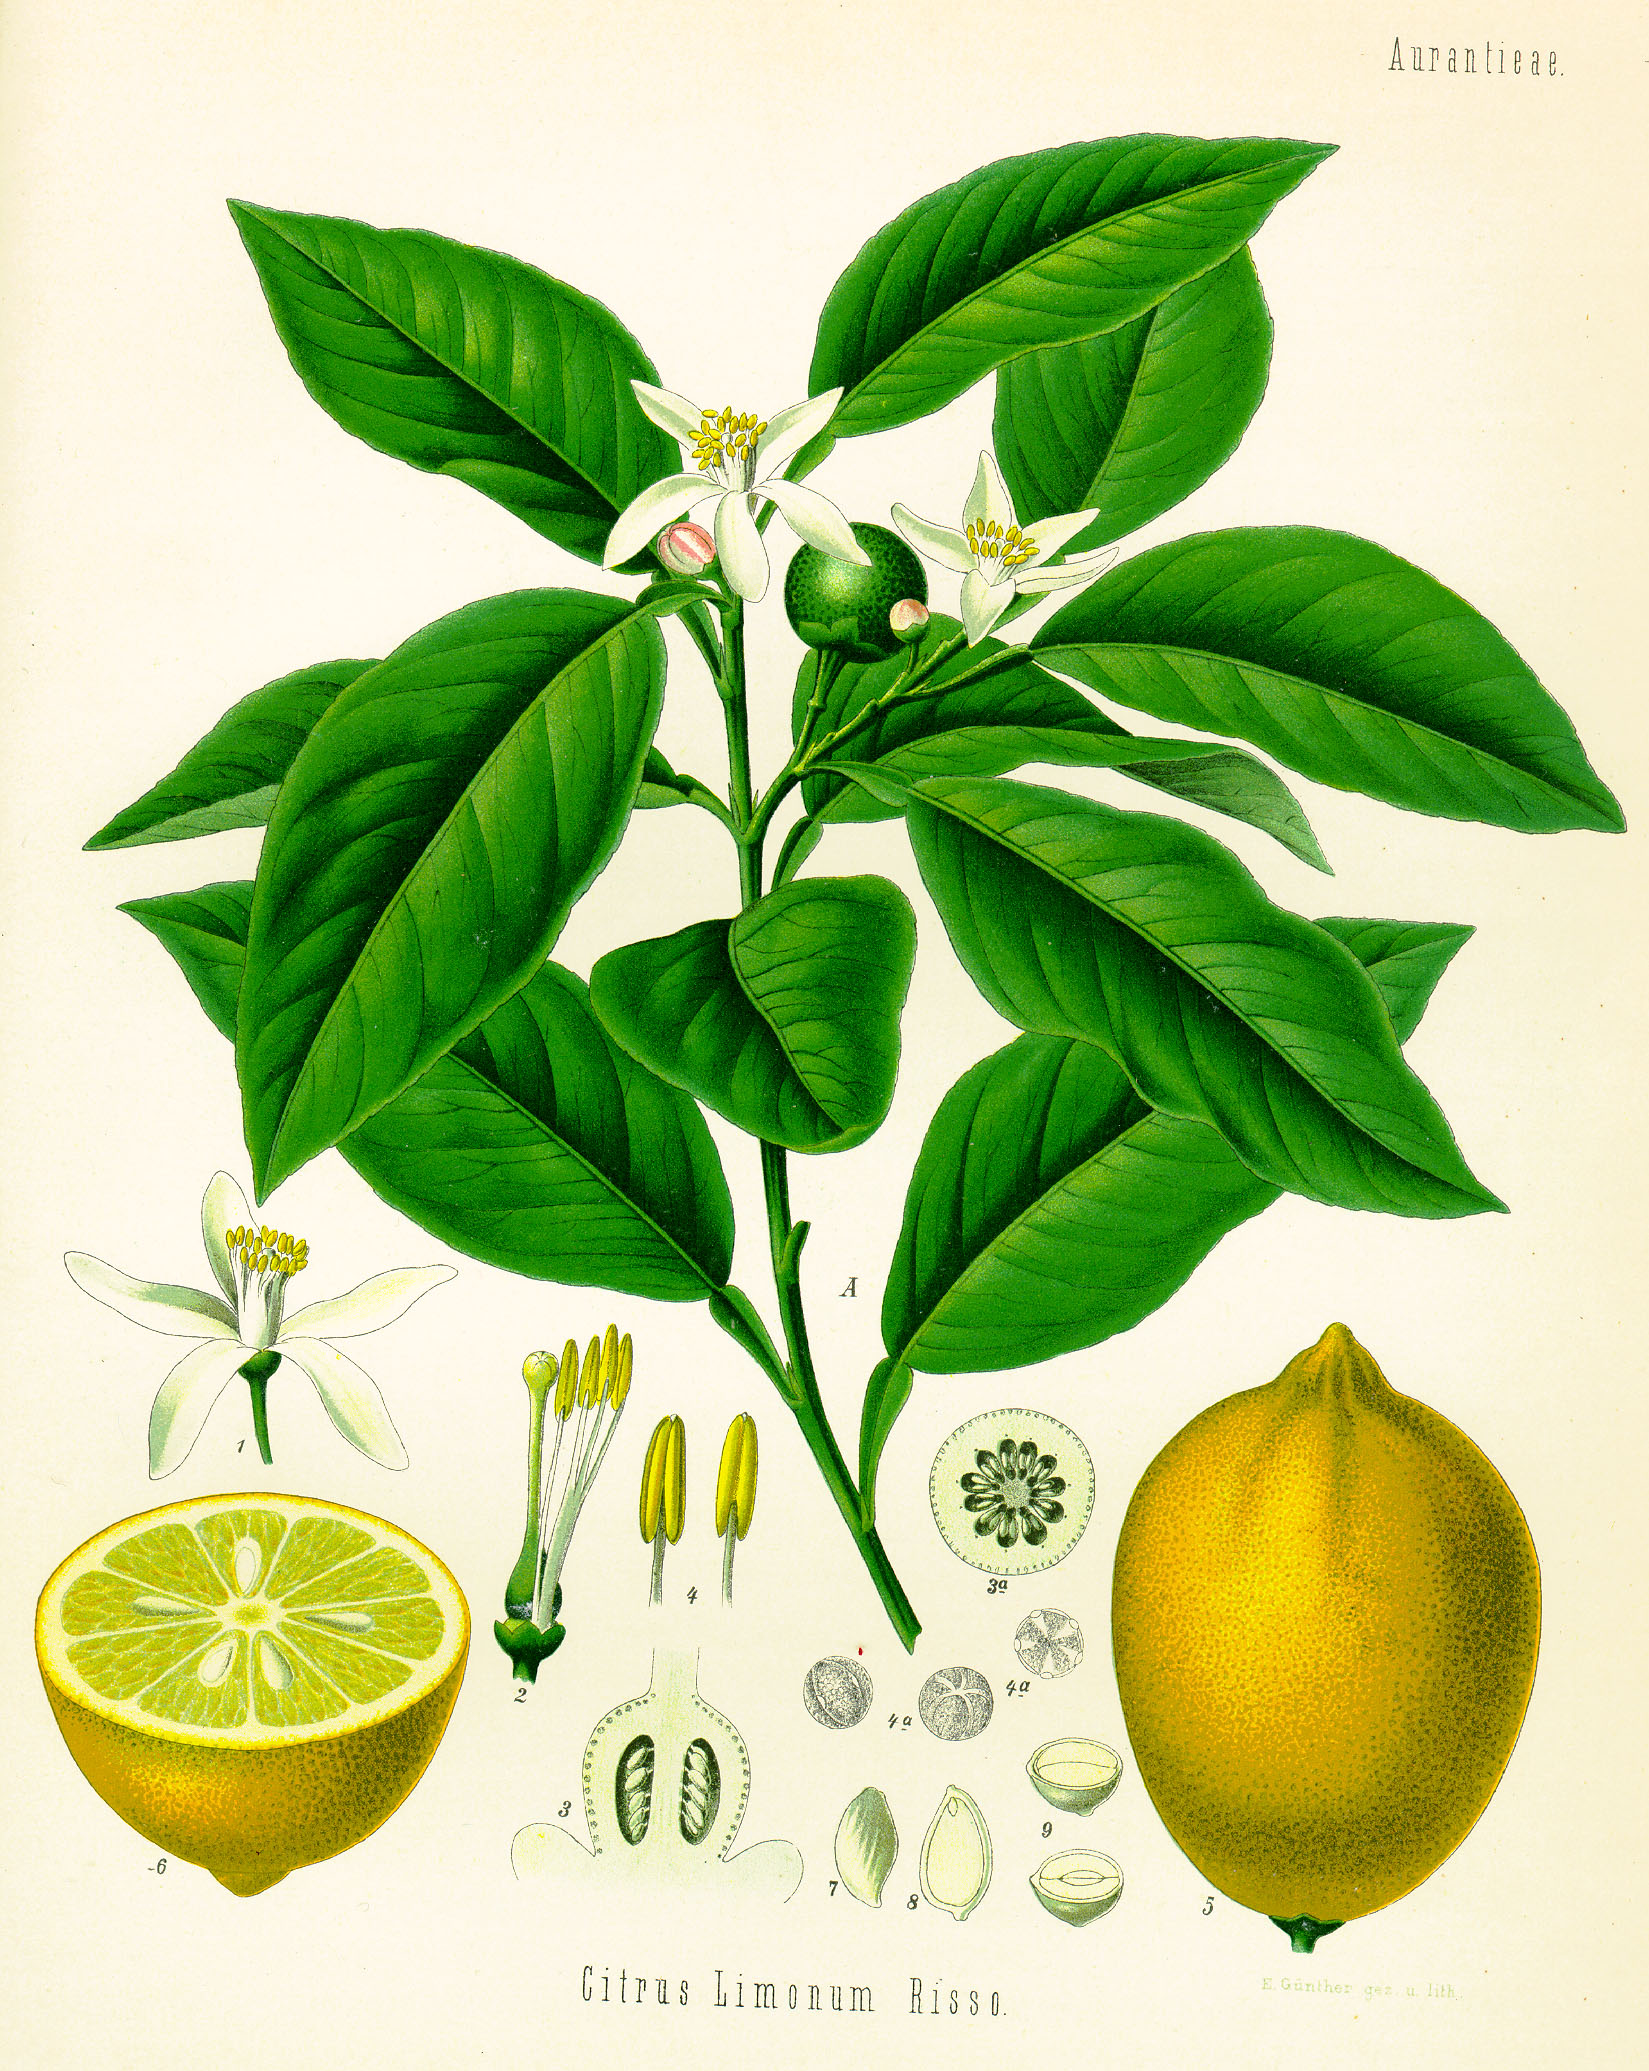
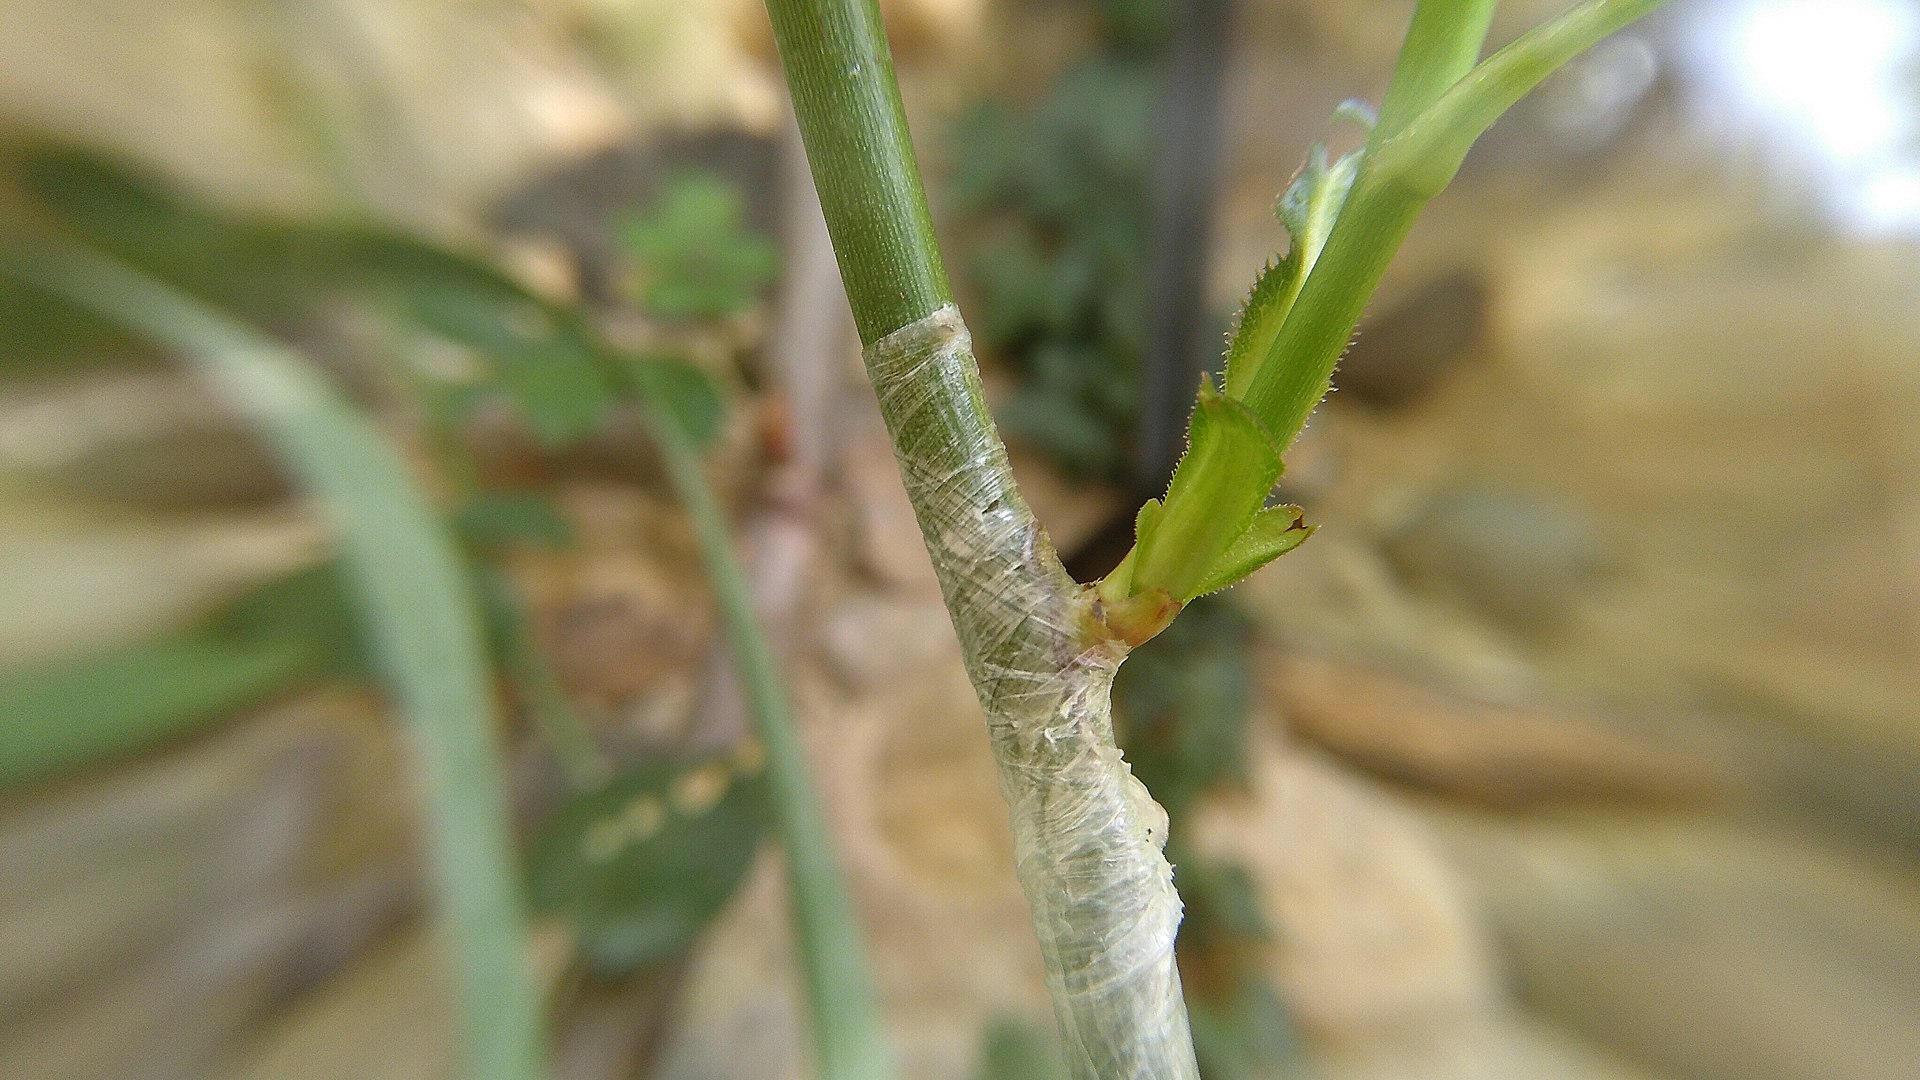
Close-up of a single lemon leaf showing the oval shape and rich green color
Single blade · Oval shape

Lemon Scion

One oval leaf blade, often with a small wing on the petiole stem. Rich green, glossy surface. This is what your lemon variety produces — your tree, doing what you want it to do. Branches with these leaves are your fruiting wood.
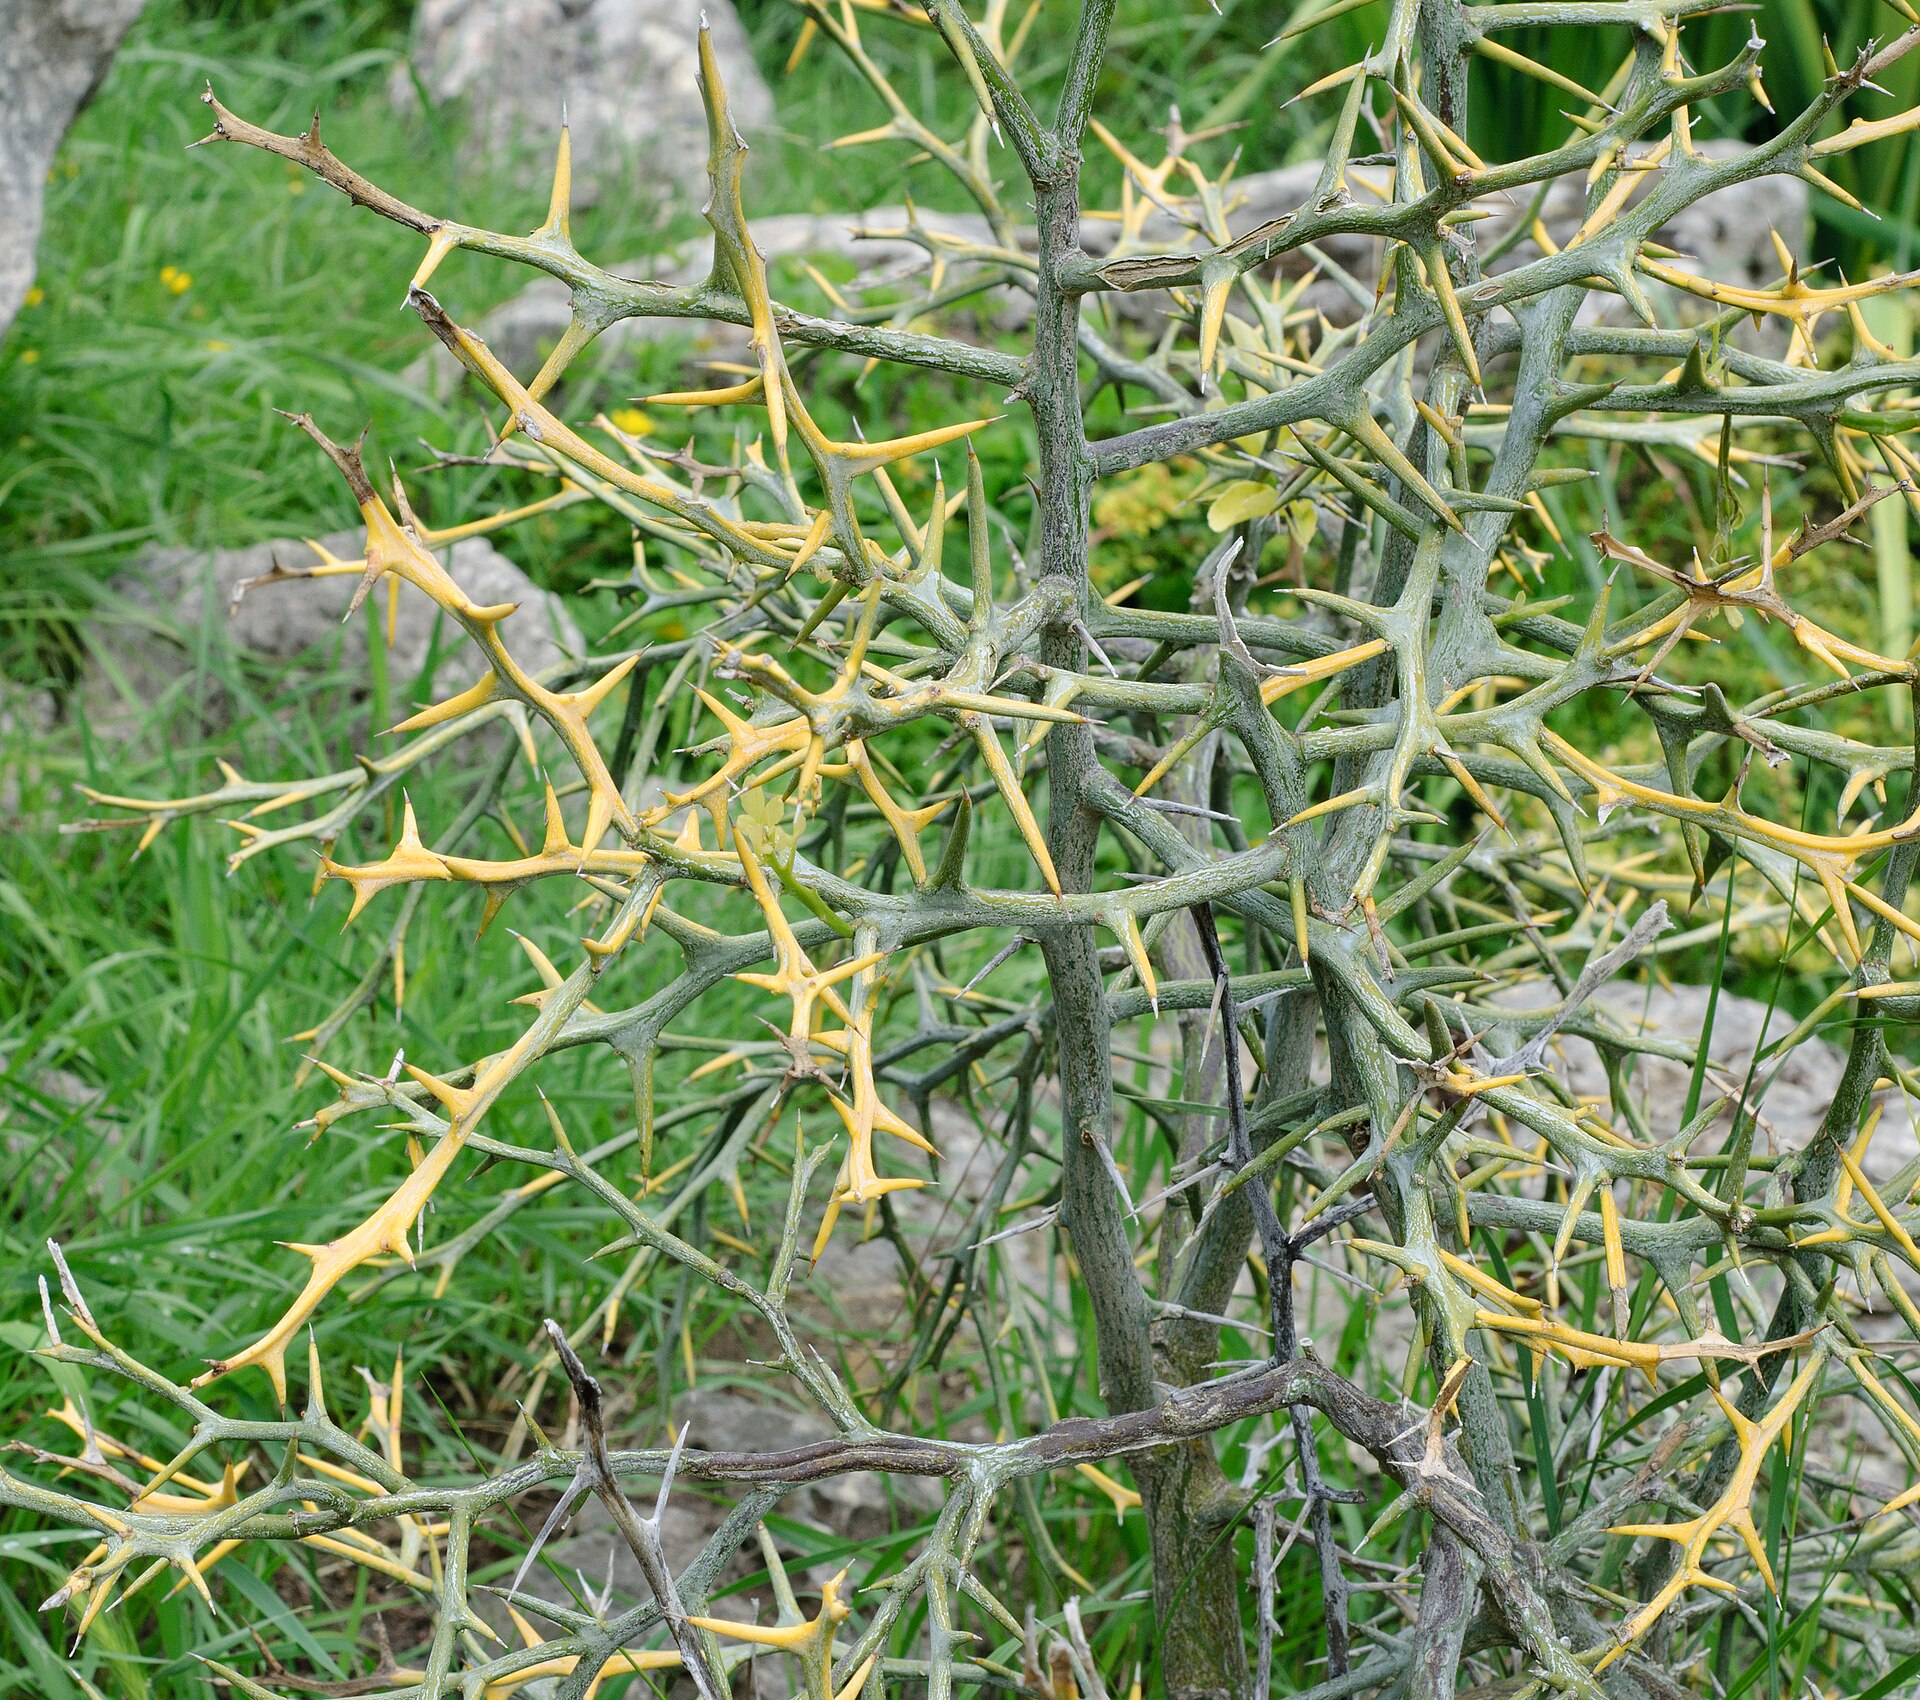
✓ Keep · This Is Your Tree
Trifoliate orange leaves showing three distinct leaflets and thorns
Three leaflets · Trifoliate

Rootstock Sucker

Three distinct leaflets joined at one stem — the trifoliate orange hallmark. Often thornier, with a slightly different green. This is the wrong tree, trying to take over. The base is also frequently armed with sharp thorns.

✗ Remove Immediately
Close-up of trifoliate orange stems showing vicious thorns

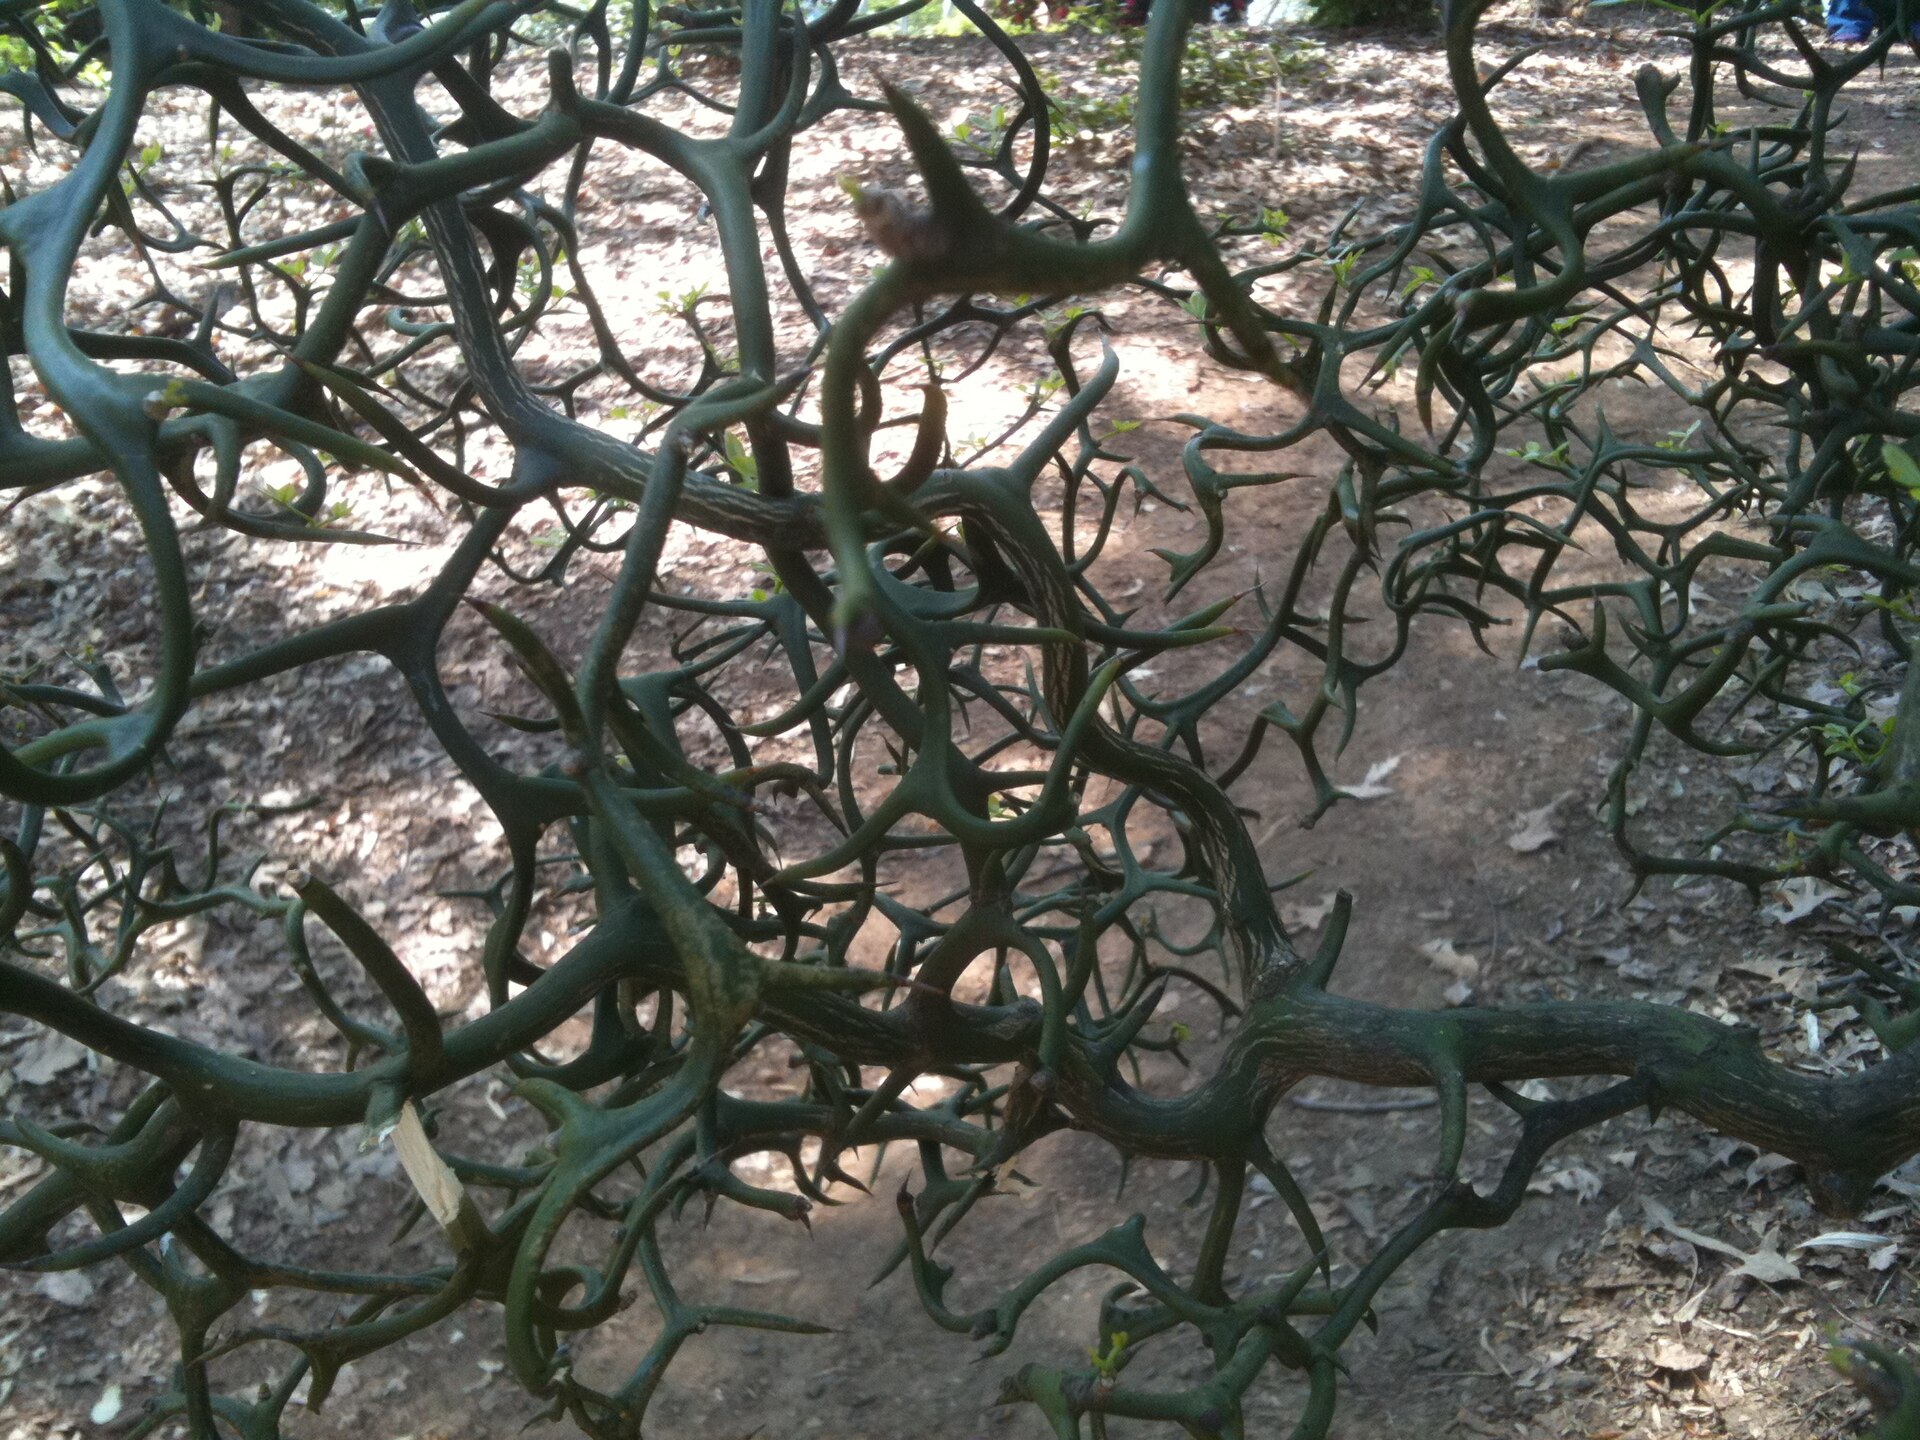
Plate III-B · Poncirus trifoliata 'Flying Dragon' — the aggressive thorns and contorted stems typical of rootstock growth

The three-second rule

When you spot a vigorous shoot anywhere on your tree, ask three questions in sequence:

  1. Is it above or below the bud union? Below = automatic removal. Above = continue evaluation.
  2. Does it have one leaf or three? Three leaflets = rootstock sucker that climbed above the union; remove it.
  3. Is it healthy fruiting wood, or a vertical water sprout? Water sprouts (long, thick, vertical, low-angle) on the scion side waste energy and should be removed at the base — even though they're "your tree."

Three leaflets on one stem, growing from the base — that's not your lemon tree. That's the rootstock trying to claim the canopy.

— A Common Tragedy of Recovering Citrus
Chapter Four

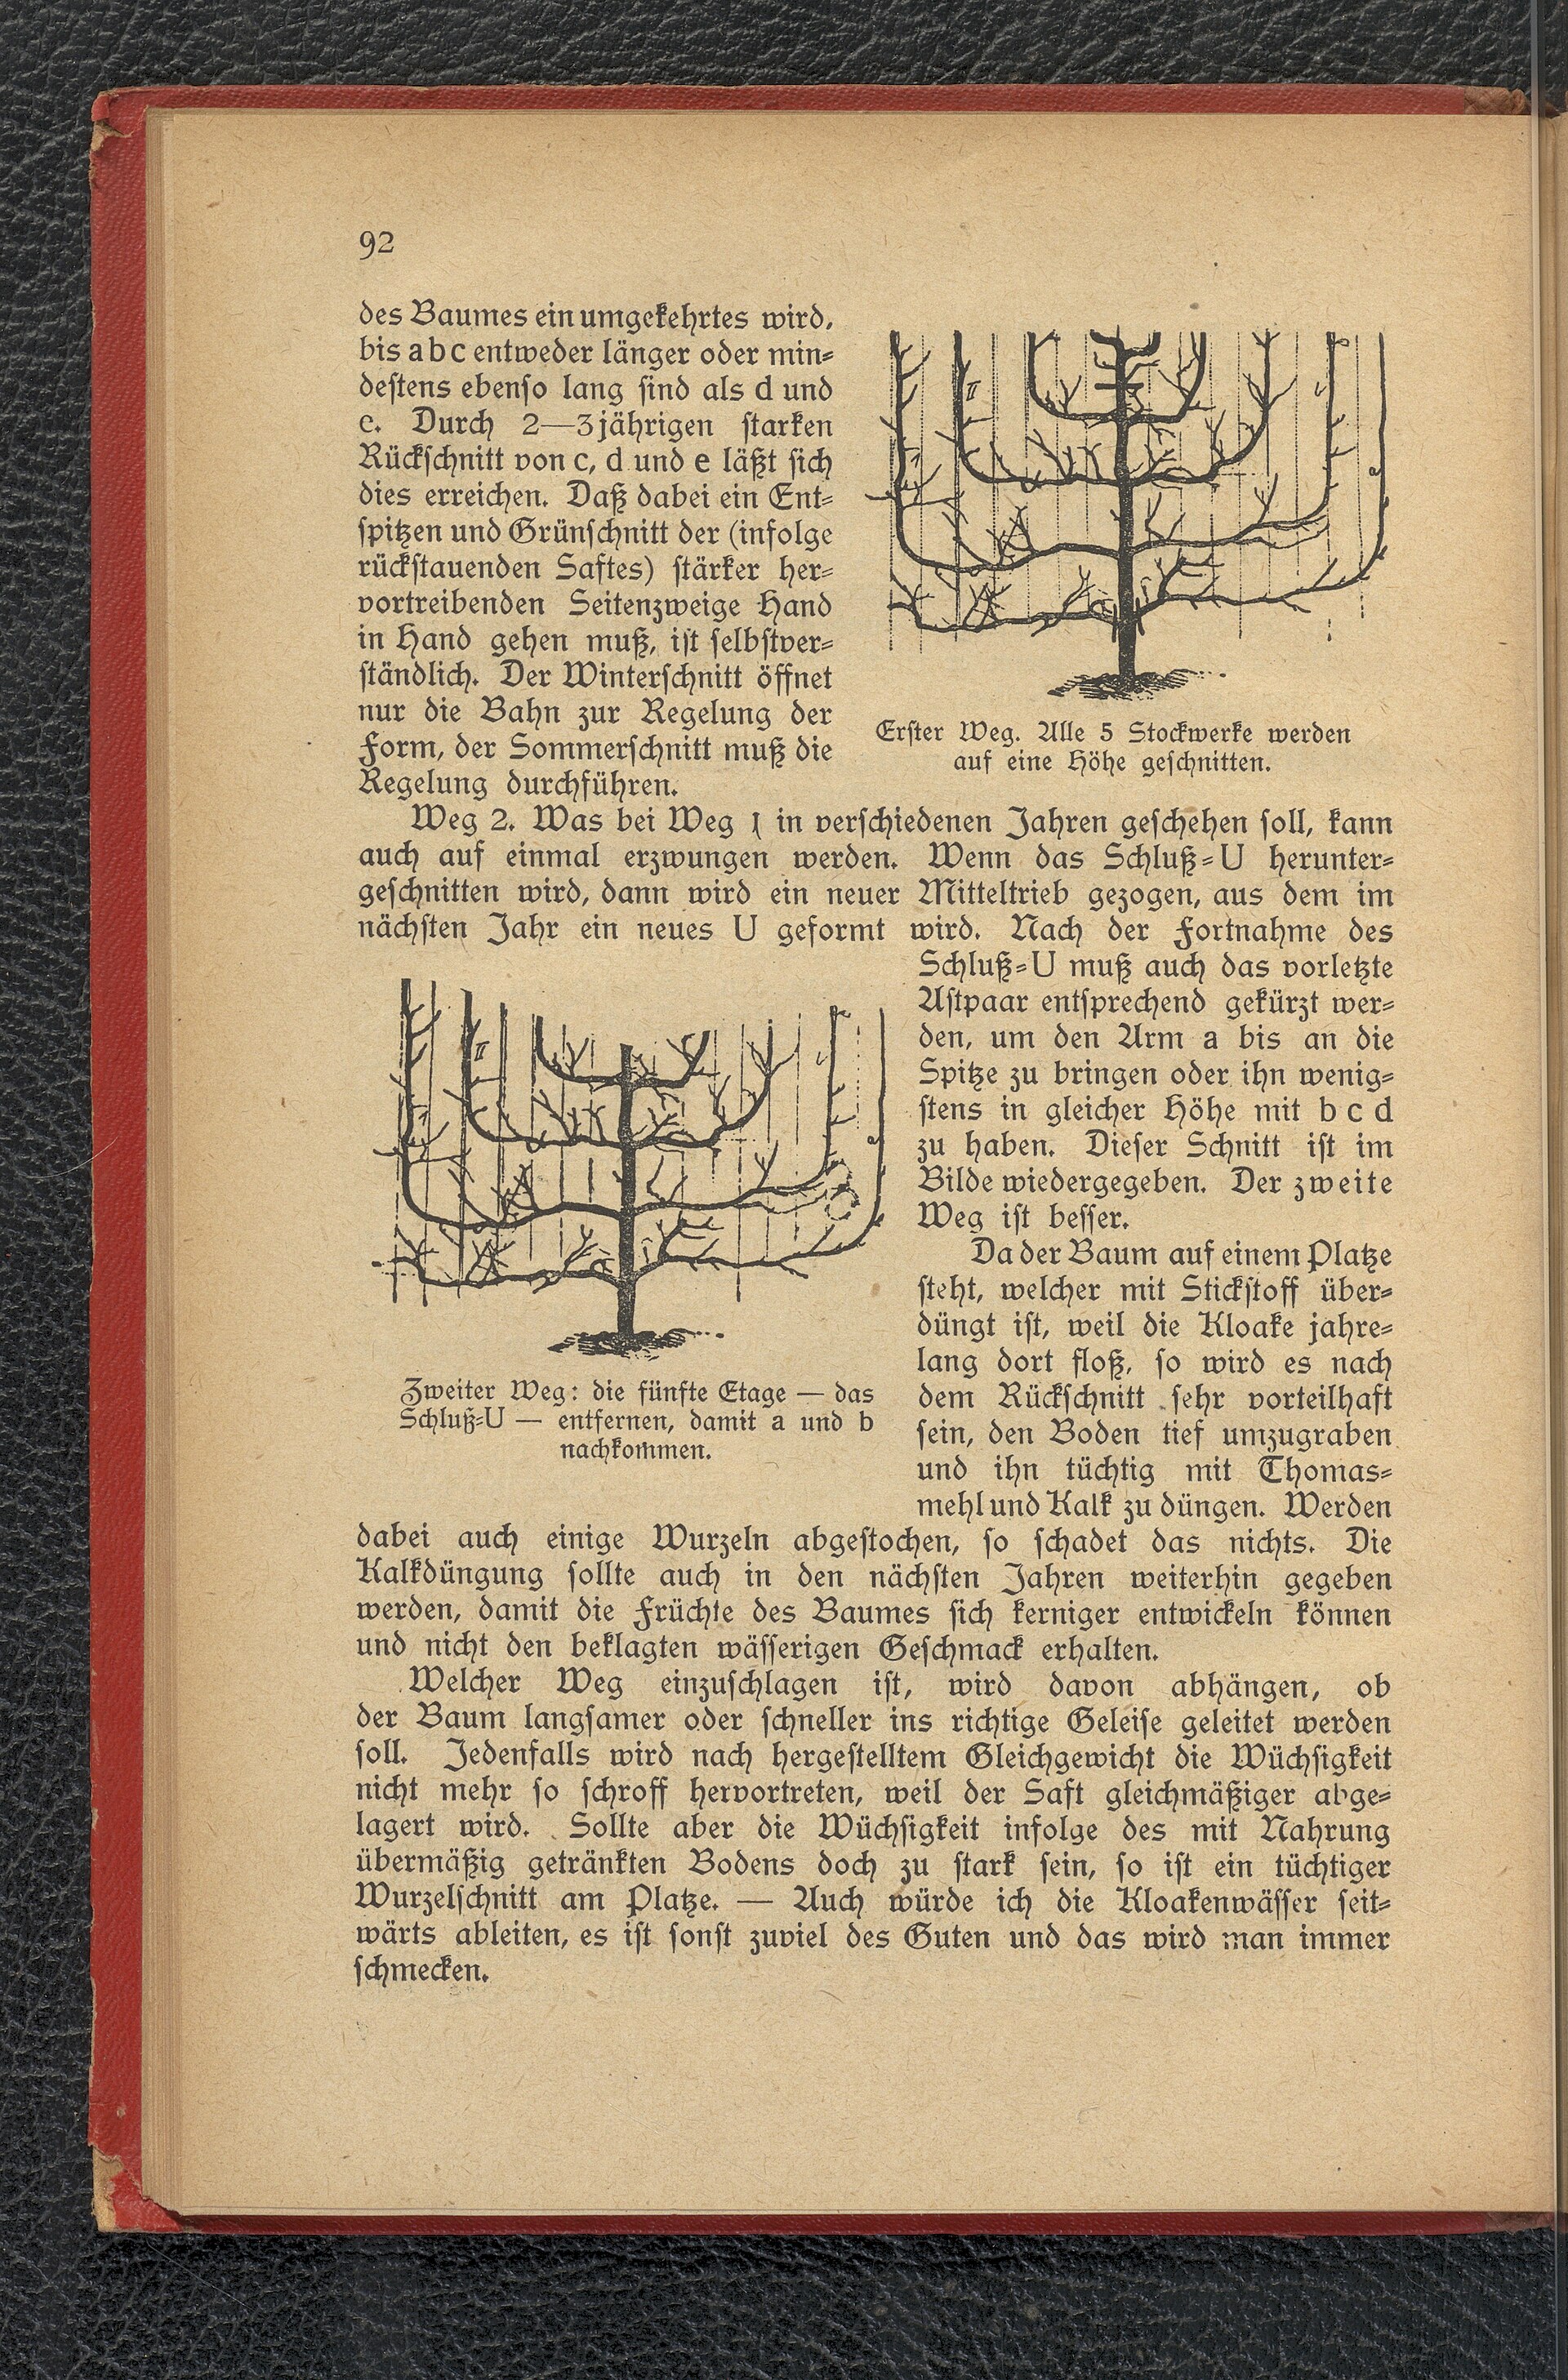
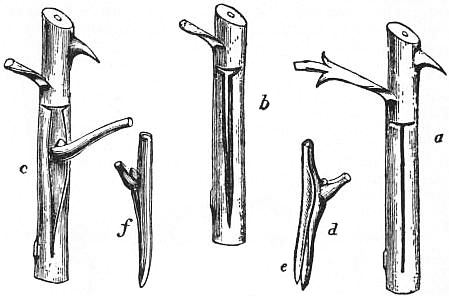
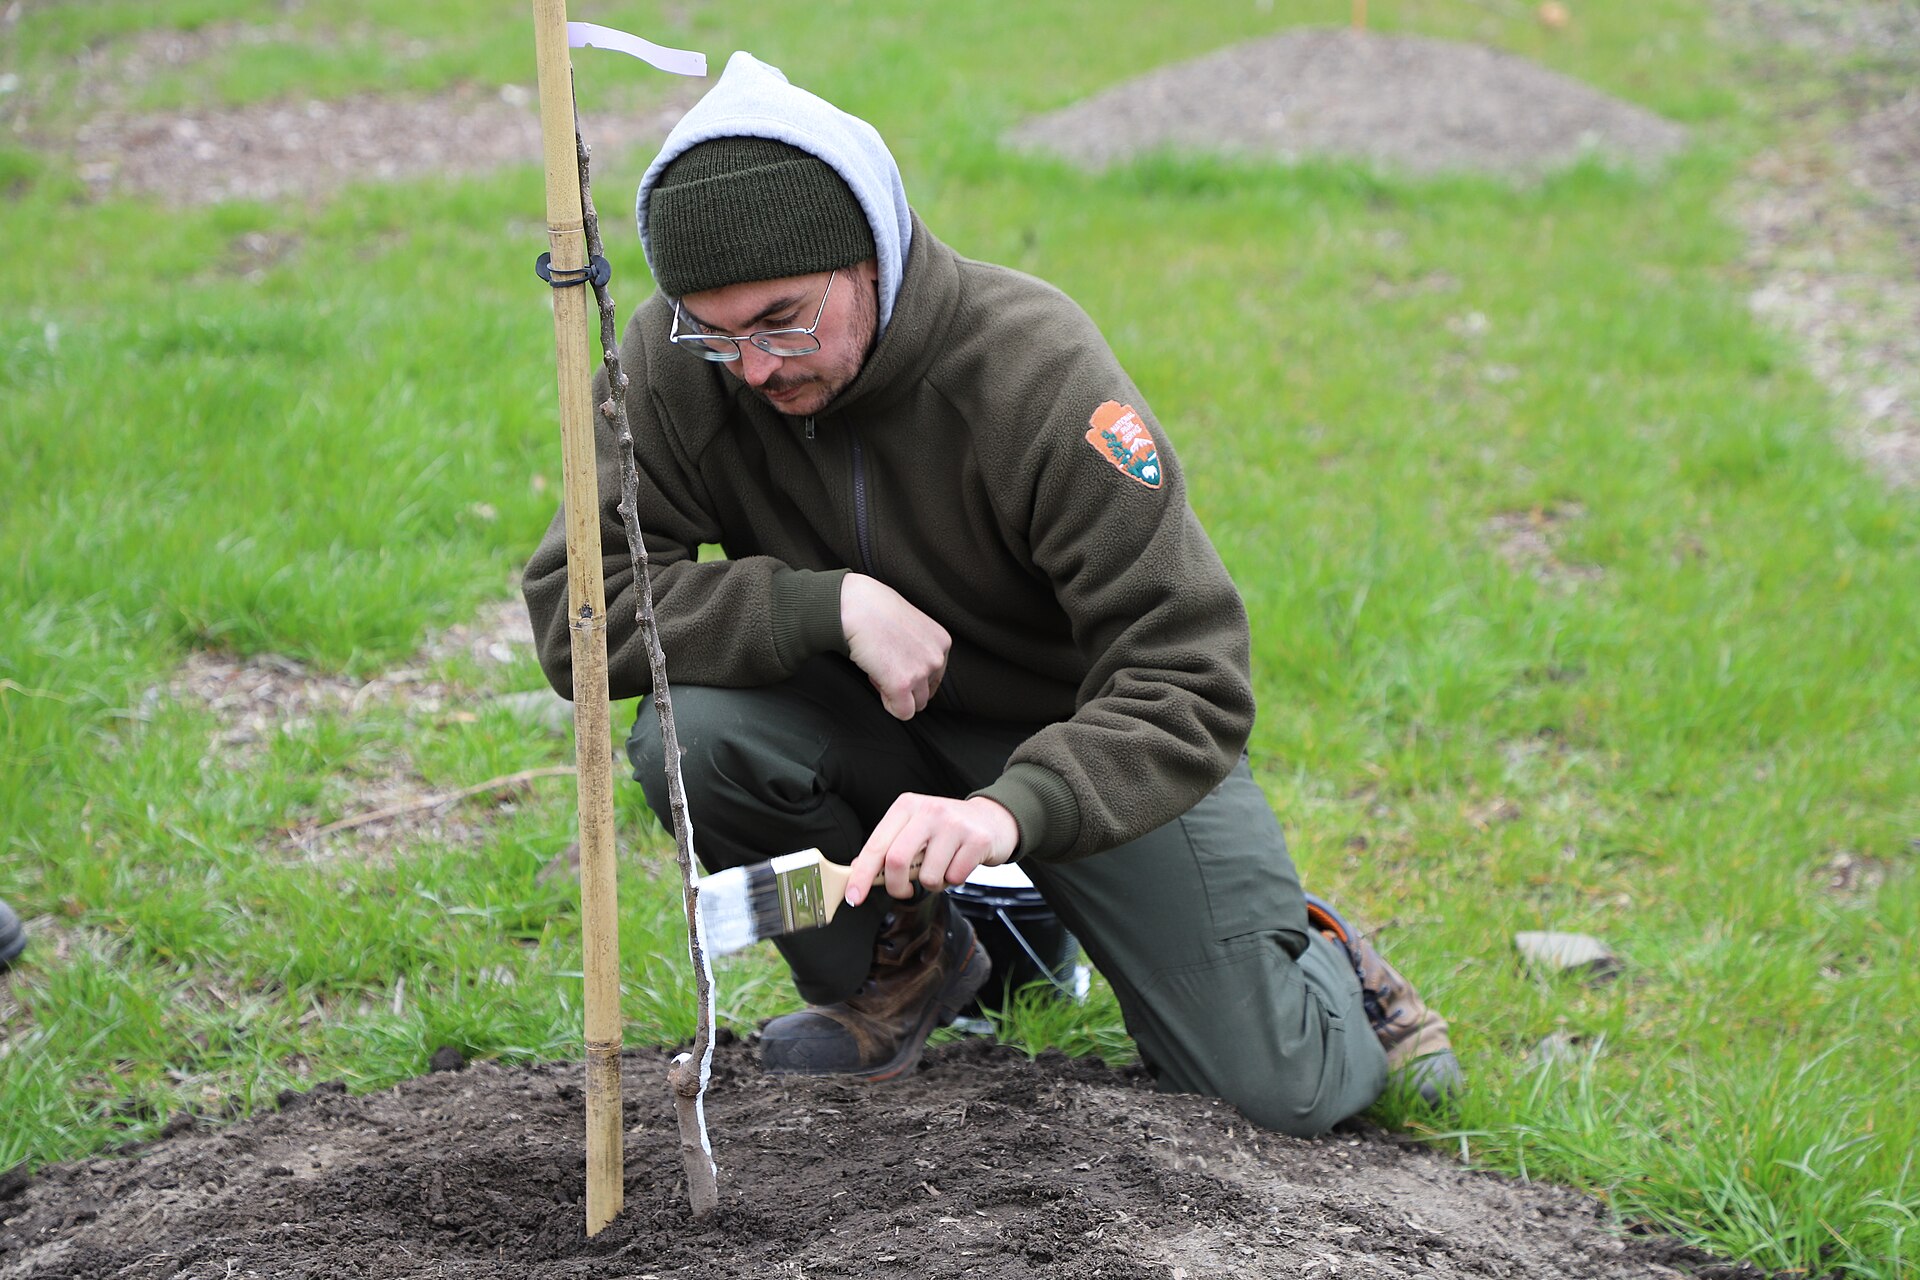
Three techniques to wake the wood

When branches show green cambium but refuse to push leaves, three techniques — escalating in difficulty — can stimulate dormant growth. Start with the gentlest. Move up only if needed.

Historical illustration from The Art of Grafting and Budding, 1879, showing various grafting techniques
Plate IV-A From The Art of Grafting and Budding, Charles Baltet, 1879. The same techniques practiced for centuries.
Detailed 1891 illustration showing multiple grafting and budding methods
Plate IV-B Veredelungen (Grafting Methods), Nicolas Gaucher, 1891. Each numbered diagram shows a different union technique.
Encyclopedic illustration of orchard management including pruning, grafting, and tree training techniques

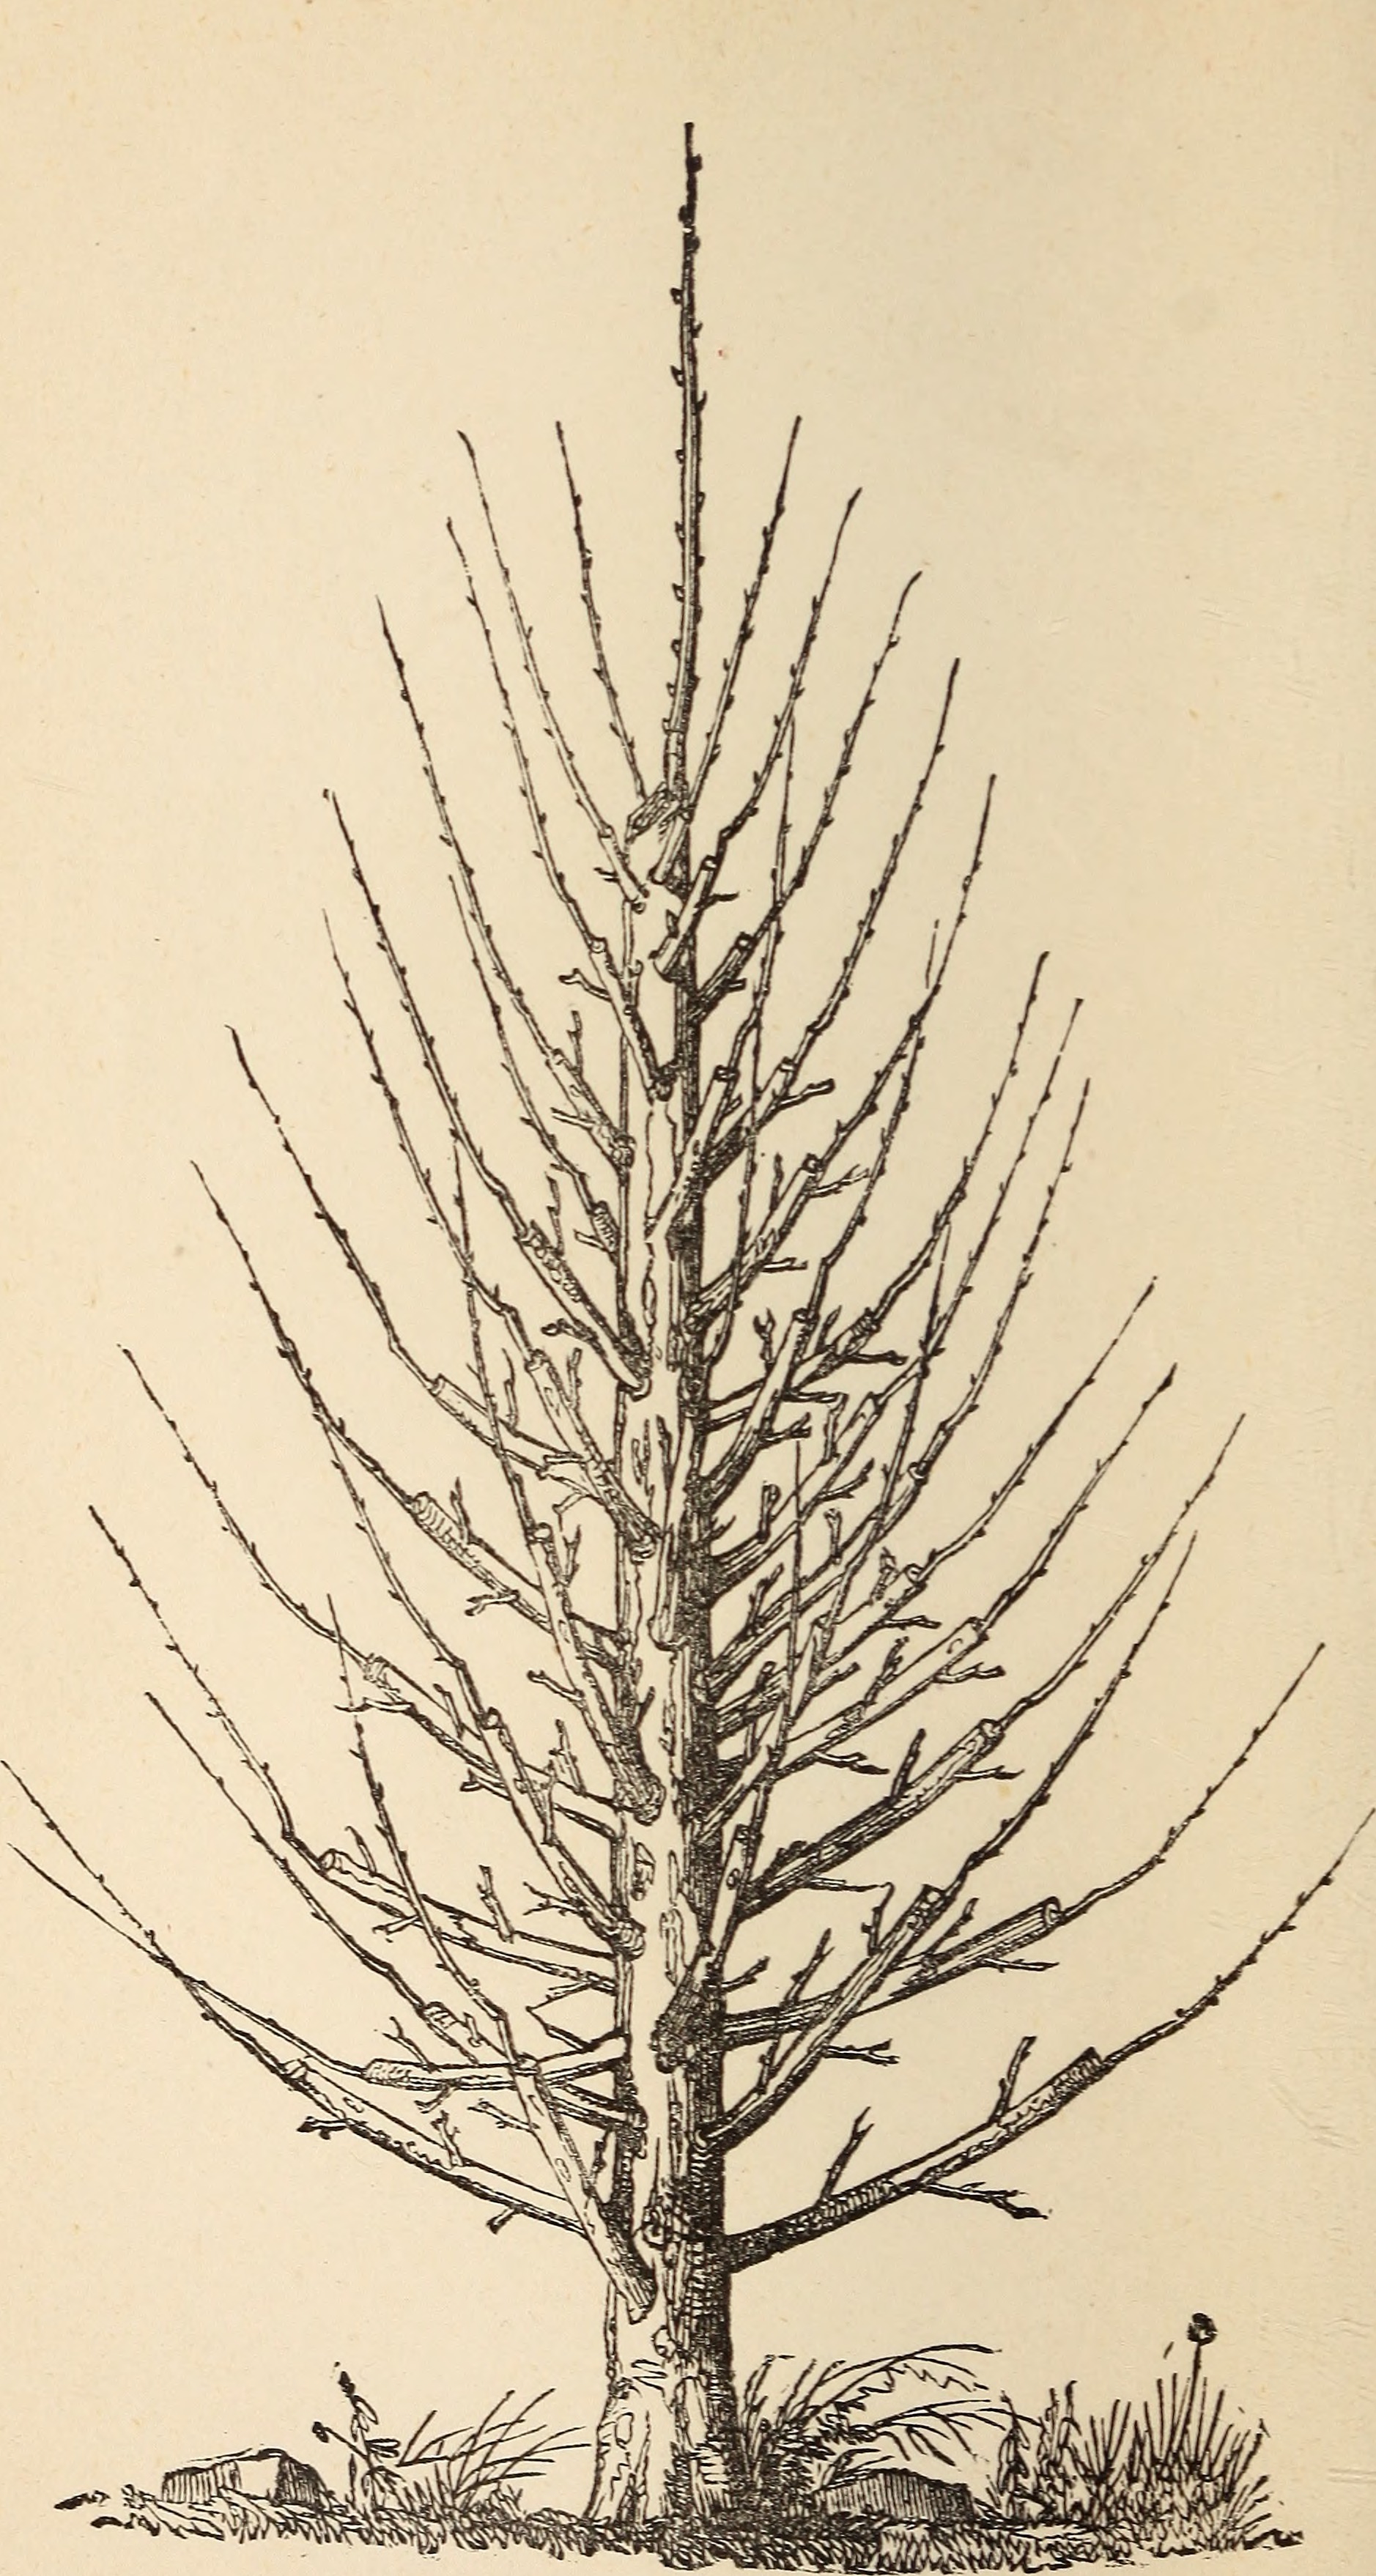
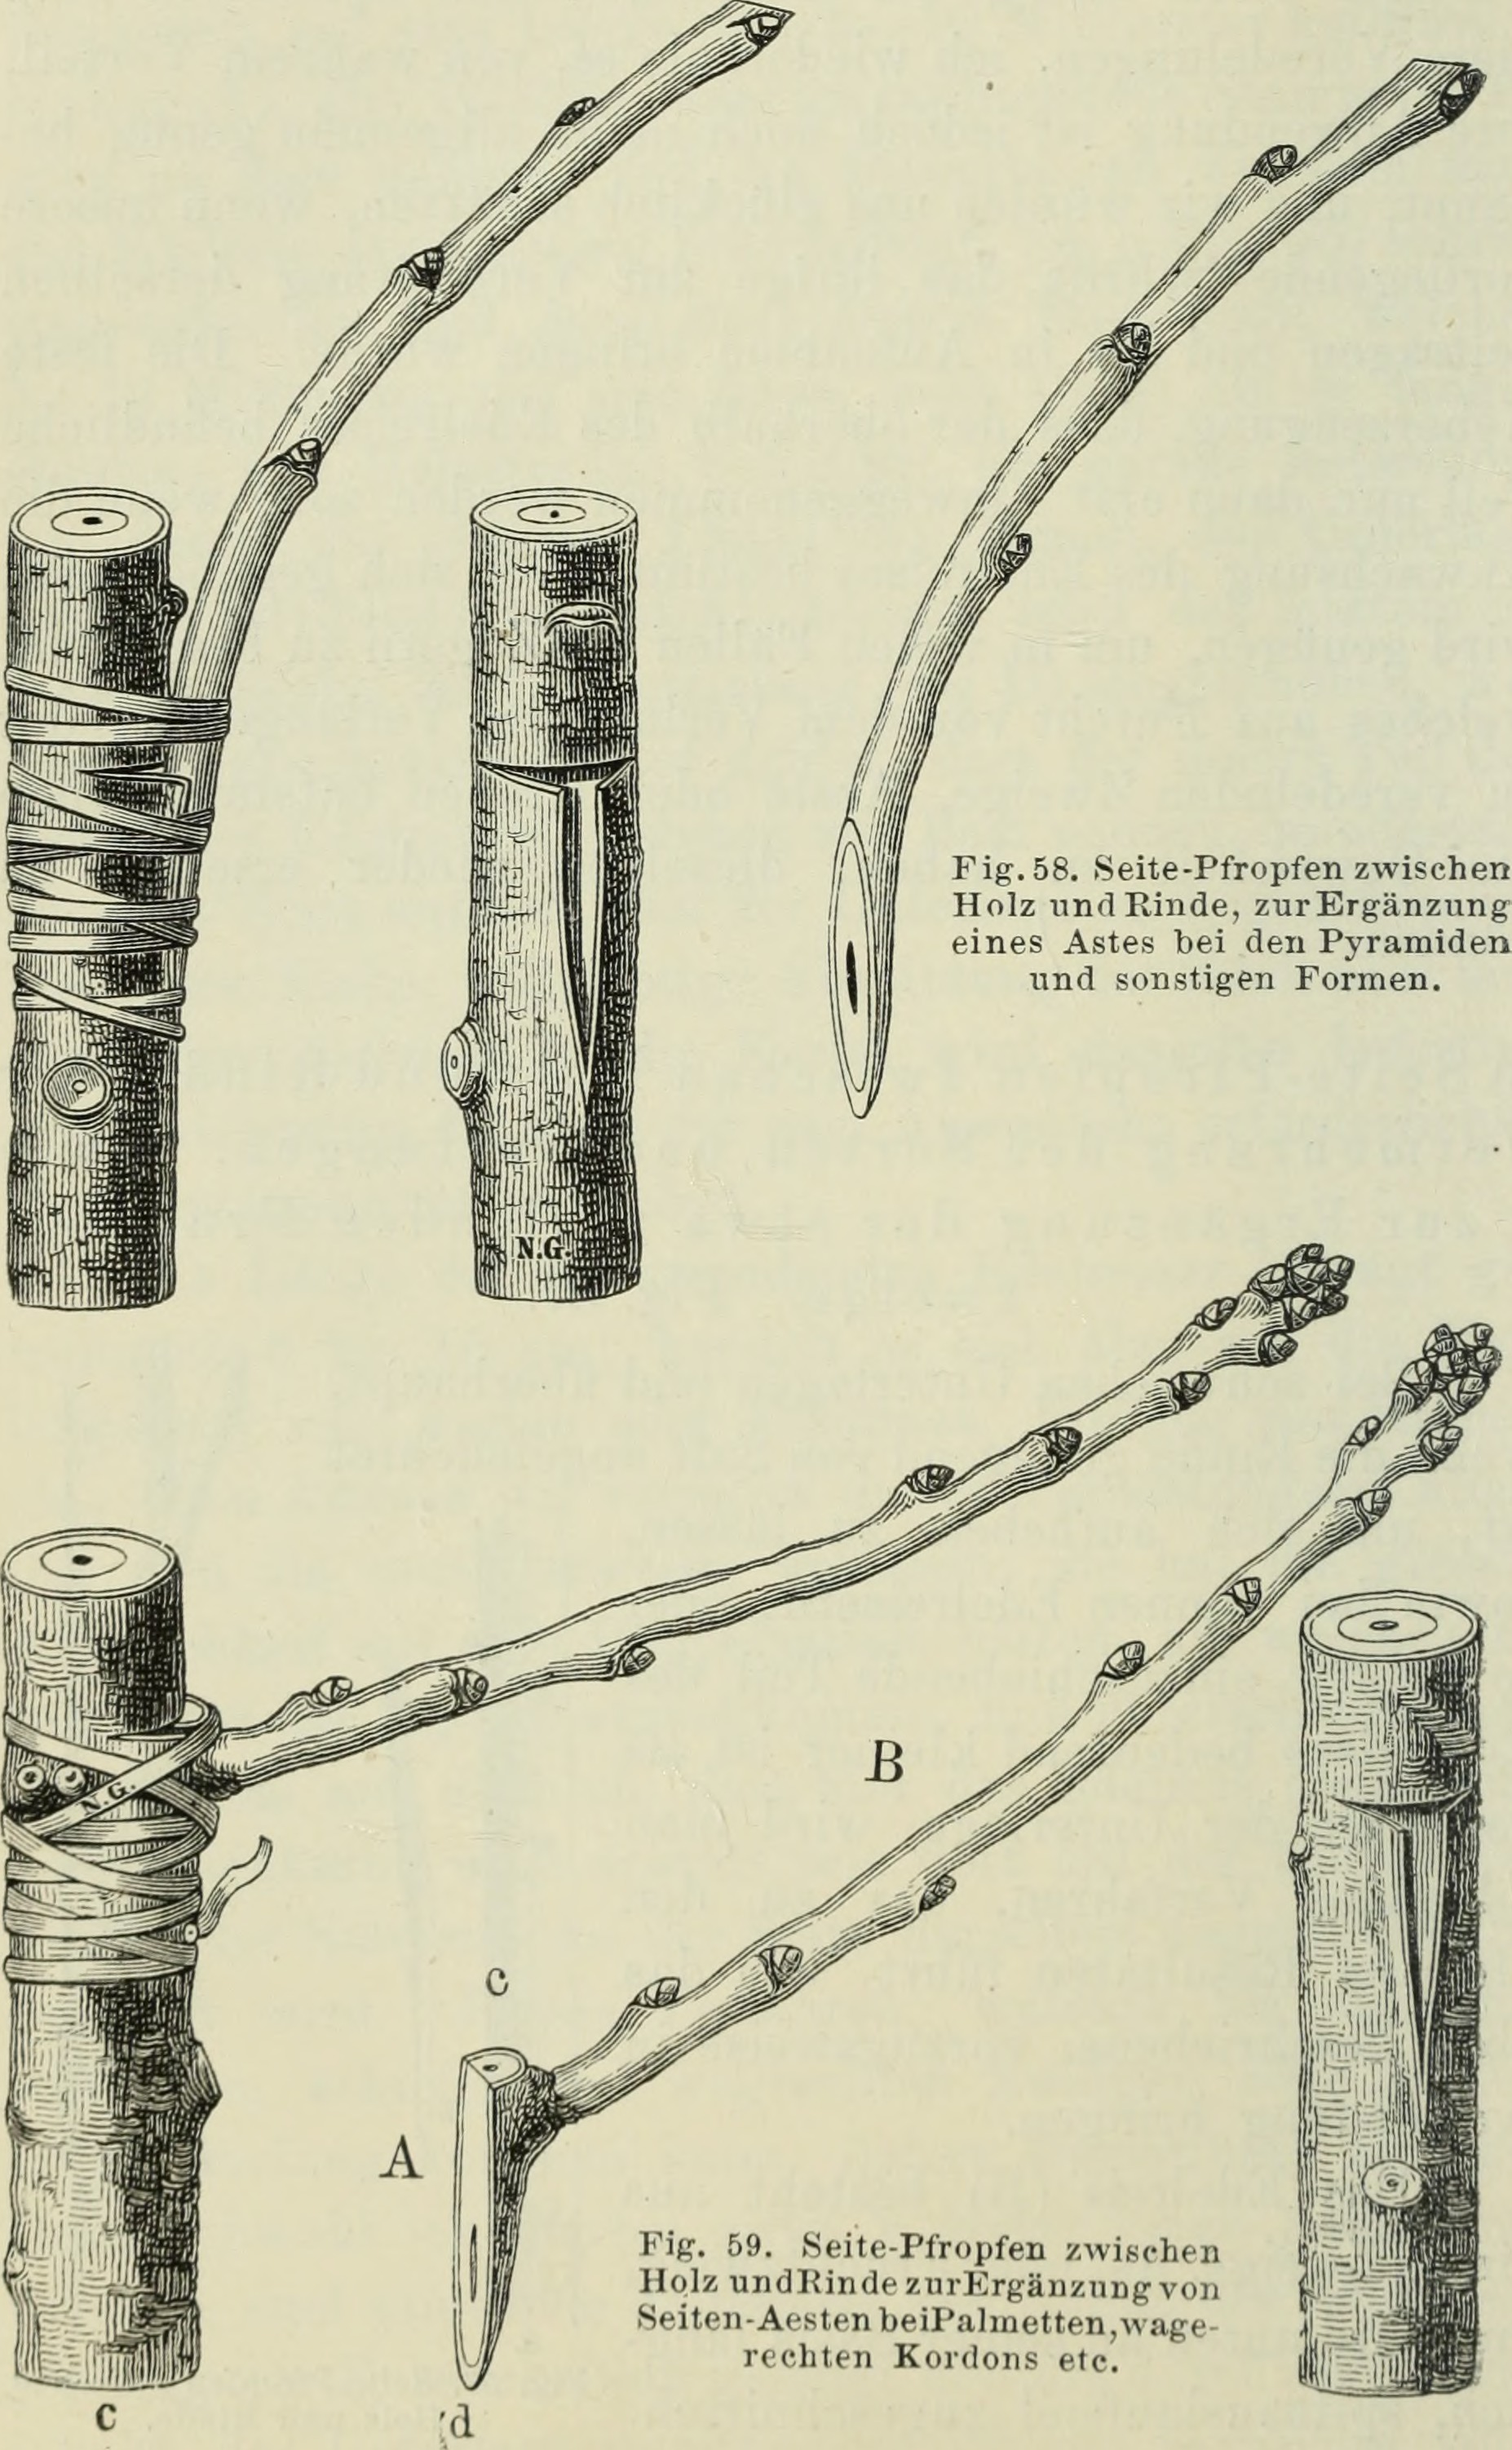
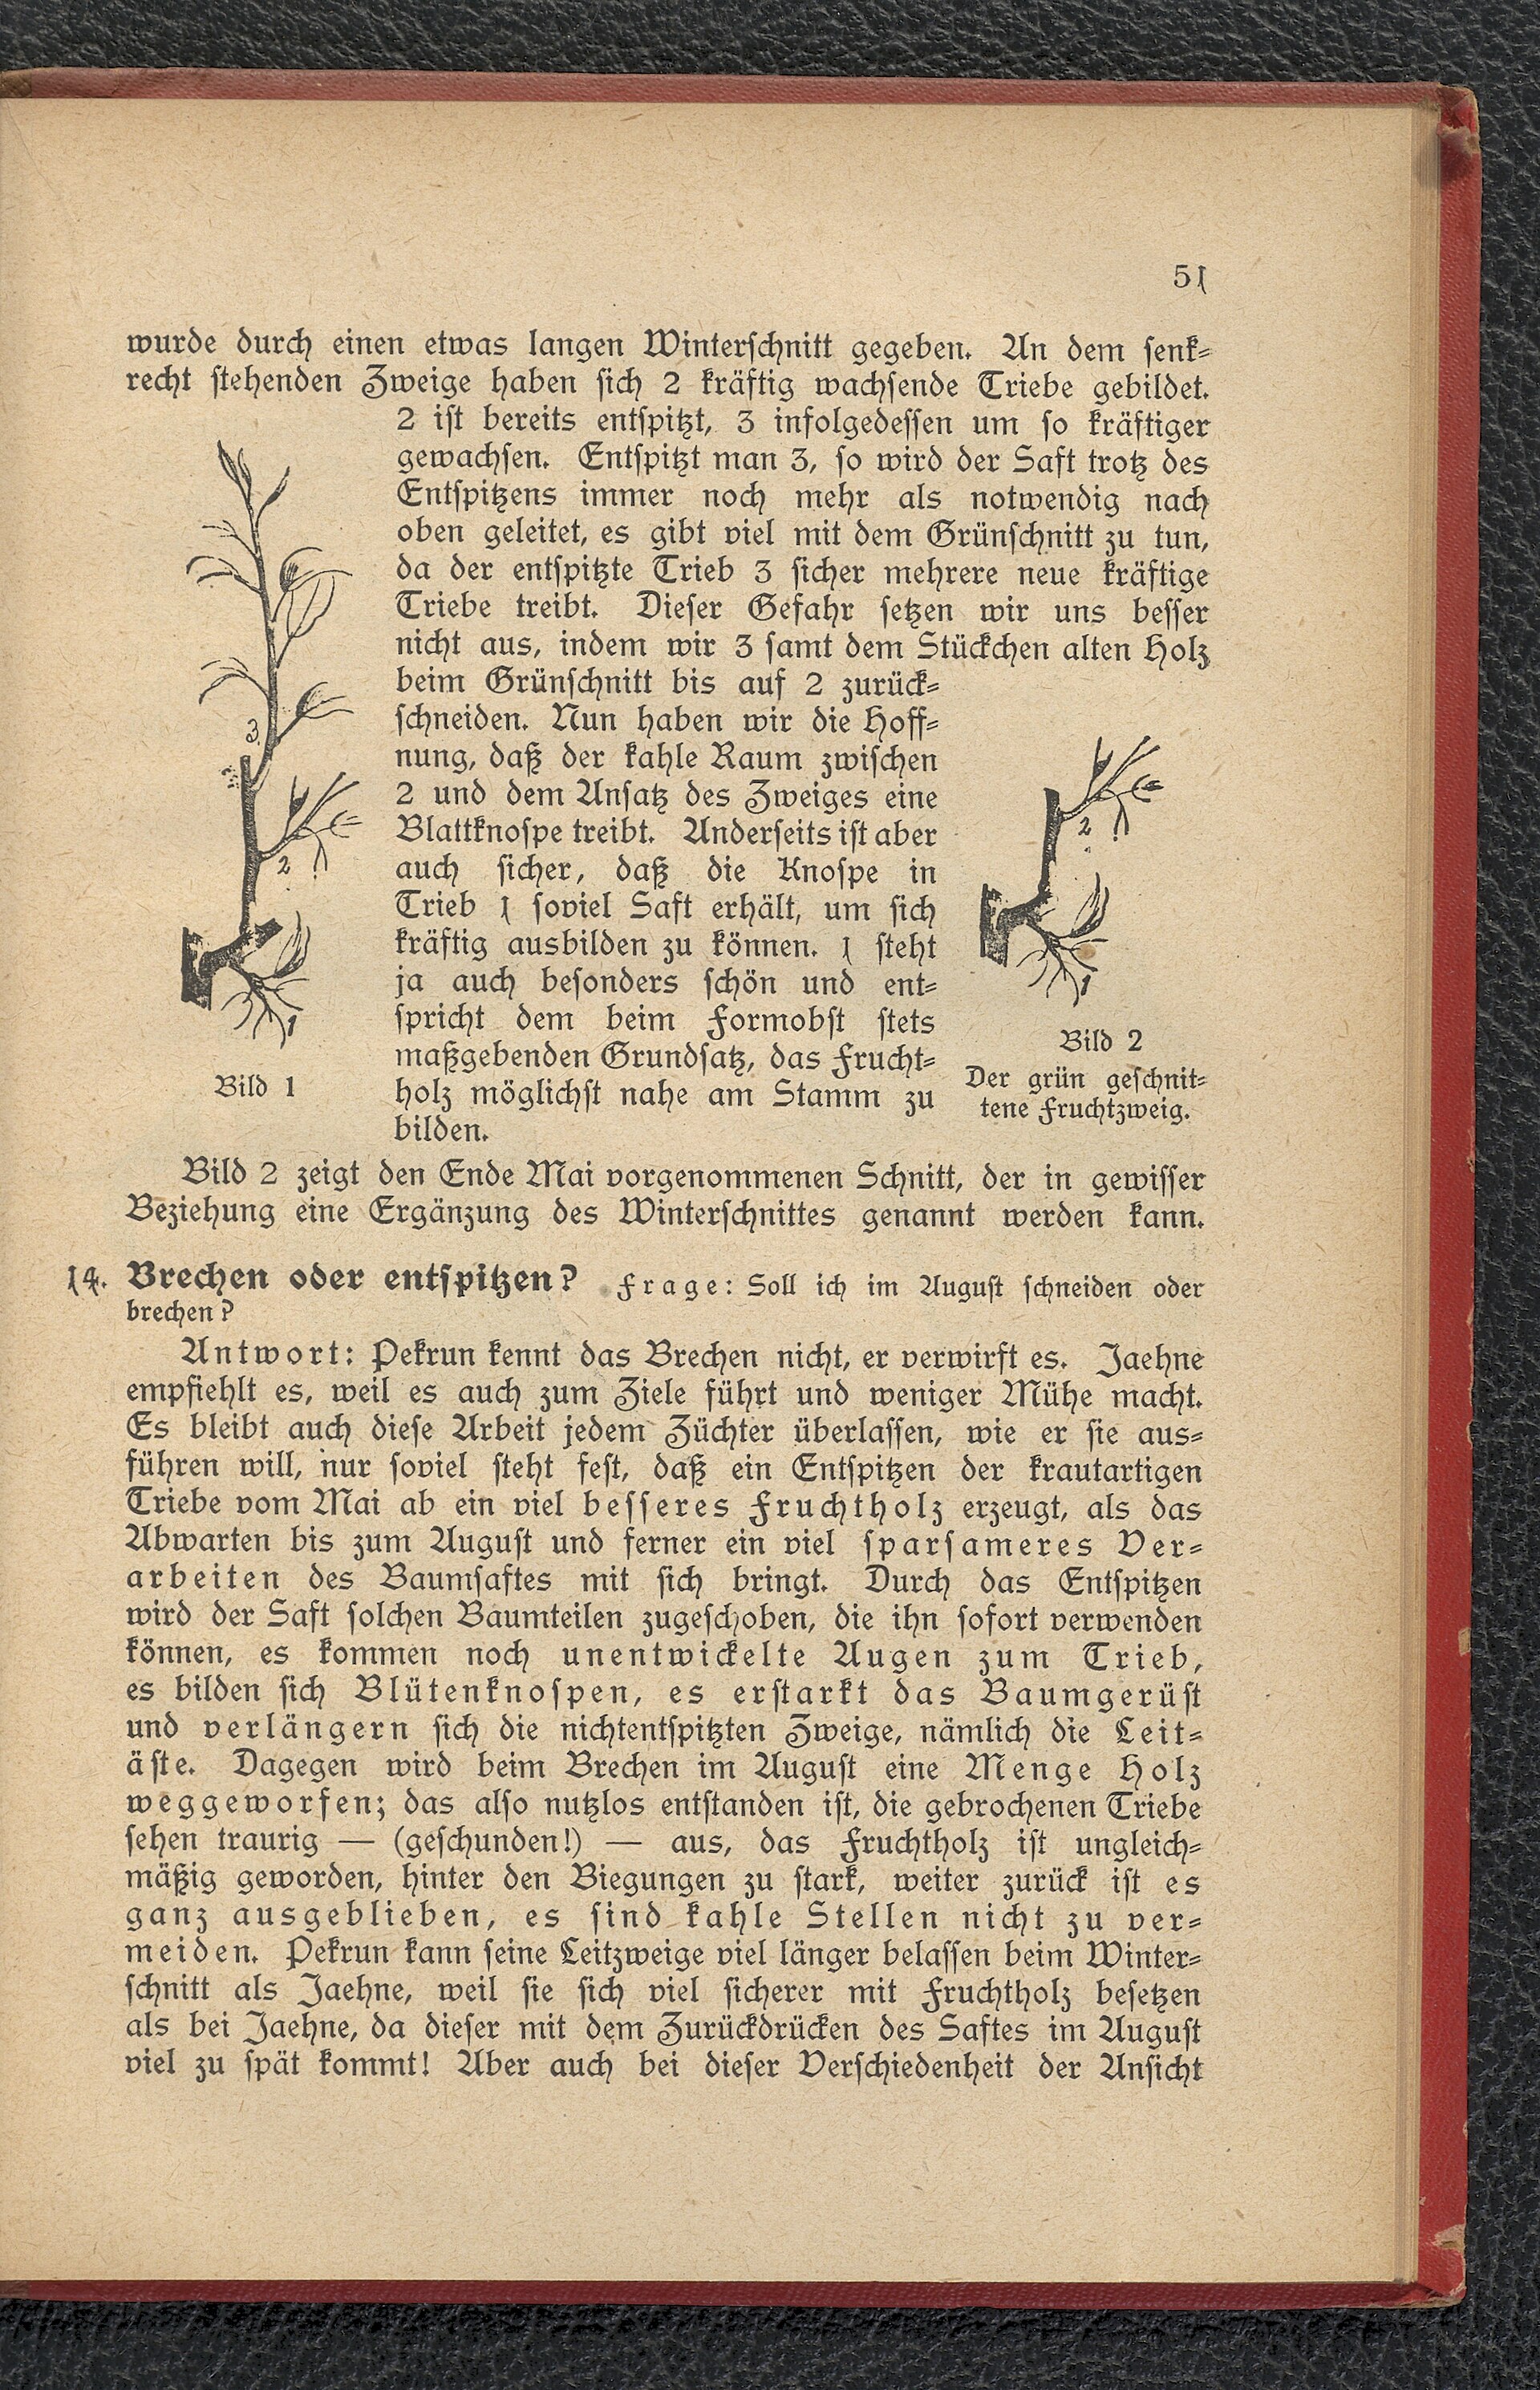
Plate IV-C · Larousse du XXe Siècle, 1932 — A complete visual encyclopedia of orchard management

i
Heading Cuts
Removing the apical signal that suppresses lower buds
Easy · Low Risk
Historical pruning manual illustration showing correct cut angles and branch selection
Anfängerfragen im Obstbaumschnitt, 1919 — correct heading cut positions
→ Method
1
Identify a live node — a small swelling where a leaf was once attached, on a branch that scratch-tested green.
2
Cut 6–12 inches back from the branch tip, just above the chosen node.
3
Make the cut clean and angled at 45°, sloping away from the bud so water sheds off.
4
Whitewash any newly exposed bark with 50/50 latex paint and water within the hour.
5
Wait 2–4 weeks. Buds below the cut should swell and push new growth.
🌿
Why this works Branch tips produce auxin, a hormone that suppresses bud break lower on the branch. Removing the tip removes the suppression — the tree responds by activating dormant buds.
Historical pruning diagram showing where to make heading cuts on different branch types
Reference Branch selection and cut placement — from Pekrun's 1919 manual. Shows how heading cuts redirect growth into lateral buds.
Before and after tree pruning showing canopy reduction and shaping
Before/After Canopy reduction through selective heading cuts — the goal is to redirect energy into the branches you want to keep, not to remove mass.
ii
Bark Notching
Surgical interruption of auxin flow above a specific bud
Moderate · Targeted
Close detail of tree bark texture
Notching: a small cut above a dormant bud unlocks growth
→ Method
1
Sterilize a sharp knife with rubbing alcohol — clean cuts heal faster and resist infection.
2
Locate a dormant bud on a branch that tested green. The bud appears as a small bump on the bark.
3
Make a horizontal cut ½–1 inch ABOVE the bud, about ¼ inch deep — through bark, just into wood.
4
Cut ⅓ of the way around the branch — never all the way around (that's girdling, which kills the branch).
5
Leave the cut open to the air. Don't seal or paint it. Expect new growth in 3–6 weeks.
🧪
Test first, scale later Try notching on 2–3 branches first. If they respond well, you can notch additional branches throughout the recovery zone. Notching is most effective in spring during active growth.
iii
T-Budding (Grafting)
Inserting a live bud into existing bark to create new growth point
Advanced · High Reward
Shield-budding technique diagram from Encyclopaedia Britannica 1911
Shield-budding diagram — Encyclopaedia Britannica, 1911
→ Preparation
1
Timing is critical. Graft when bark is "slipping" — separating easily from wood. In SoCal this means April–May (spring flush) or September–October (fall growth). Bark won't slip in winter or mid-summer heat.
2
Collect budwood from current-season vigorous growth on your tree's healthy side (or a certified disease-free source of the same variety). Choose pencil-thick wood with plump, dormant buds. Trim leaves immediately, leaving short petiole stubs as handles.
3
Wrap budwood in damp paper towel inside a sealed plastic bag. Keep refrigerated if not using immediately. Budwood stays viable for 1–2 weeks refrigerated, but fresh is always better.
4
Sterilize all tools with rubbing alcohol — your grafting knife, any pruners, and the target branch surface. Contamination is the #1 cause of graft failure.
→ The T-Cut
5
Select a smooth section of bark on the host branch, free of knots or damage. Ideally on the north or shaded side to reduce sun stress on the new graft.
6
Make a horizontal cut about 1 inch wide, through bark only — just to the cambium. You should see green.
7
Make a vertical cut downward from the center of the horizontal, about 1.5 inches long. The bark should lift cleanly at the T-junction — if it tears, bark isn't slipping yet.
→ The Bud Shield
8
Cut a bud shield from your budwood: starting ½ inch below the bud, slice shallowly under the bark and bud, exiting ½ inch above. The shield should be a thin oval of bark with one bud and a paper-thin sliver of wood behind it.
9
Slide the shield under the bark flaps of the T-cut, bud pointing upward. The cambium surfaces of shield and host must be in firm, direct contact — this is where the vascular connection forms.
10
Trim any excess shield bark that protrudes above the horizontal cut. The bud itself must remain exposed — never tape over it.
→ Wrapping & Aftercare
11
Wrap with budding tape or parafilm — start below the bud, wrap upward with overlapping turns, skip over the bud eye, continue above. Firm pressure ensures cambium contact.
12
Inspect at 2 weeks. Plump green bud = graft has taken. Brown or shriveled = failed, remove tape and try a new location. The petiole stub will drop off cleanly on a successful graft.
13
At 3–4 weeks, remove tape. The union should be callousing over. Do not force new growth yet — let the bud decide when to push.
14
When the bud pushes (6–12 weeks), make a heading cut on the host branch just above the graft to redirect all energy into your new bud. Whitewash any newly exposed bark.
🎯
When grafting is the right call Reserve grafting for branches that show green cambium but fail to push leaves after notching and 4–6 weeks of waiting. The vascular pathway is intact — it just needs a new growing point. Place multiple grafts on different branches to improve your odds.

A graft comes to life

Chip budding on a rose — the same biological process as your citrus T-bud. Watch the graft union heal and the bud push over 20 days.

Chip bud graft immediately after insertion, showing the bud shield seated in the cut
Day 0 — Fresh graft The bud shield is seated, cambium layers aligned. The lighter wood of the shield contrasts with the host bark. This is the moment of contact.
Chip bud graft at 5 days, wrapped in parafilm, showing early healing
Day 5 — Early callus Wrapped in parafilm. The wound edges are beginning to callus — new tissue bridges forming between host and scion cambium.
Chip bud graft at 7 days, callus tissue visible at wound margins
Day 7 — Union forming Callus tissue now visible at the wound margins. The bud remains green and plump — a strong sign of vascular connection.
Chip bud graft at 10 days, petiole stub browning and ready to drop
Day 10 — Petiole drop The petiole stub browns and loosens — the classic sign of a successful take. If it stays stubbornly attached and green, the graft may have failed.
Chip bud graft at 20 days, fully healed union with the bud beginning to swell

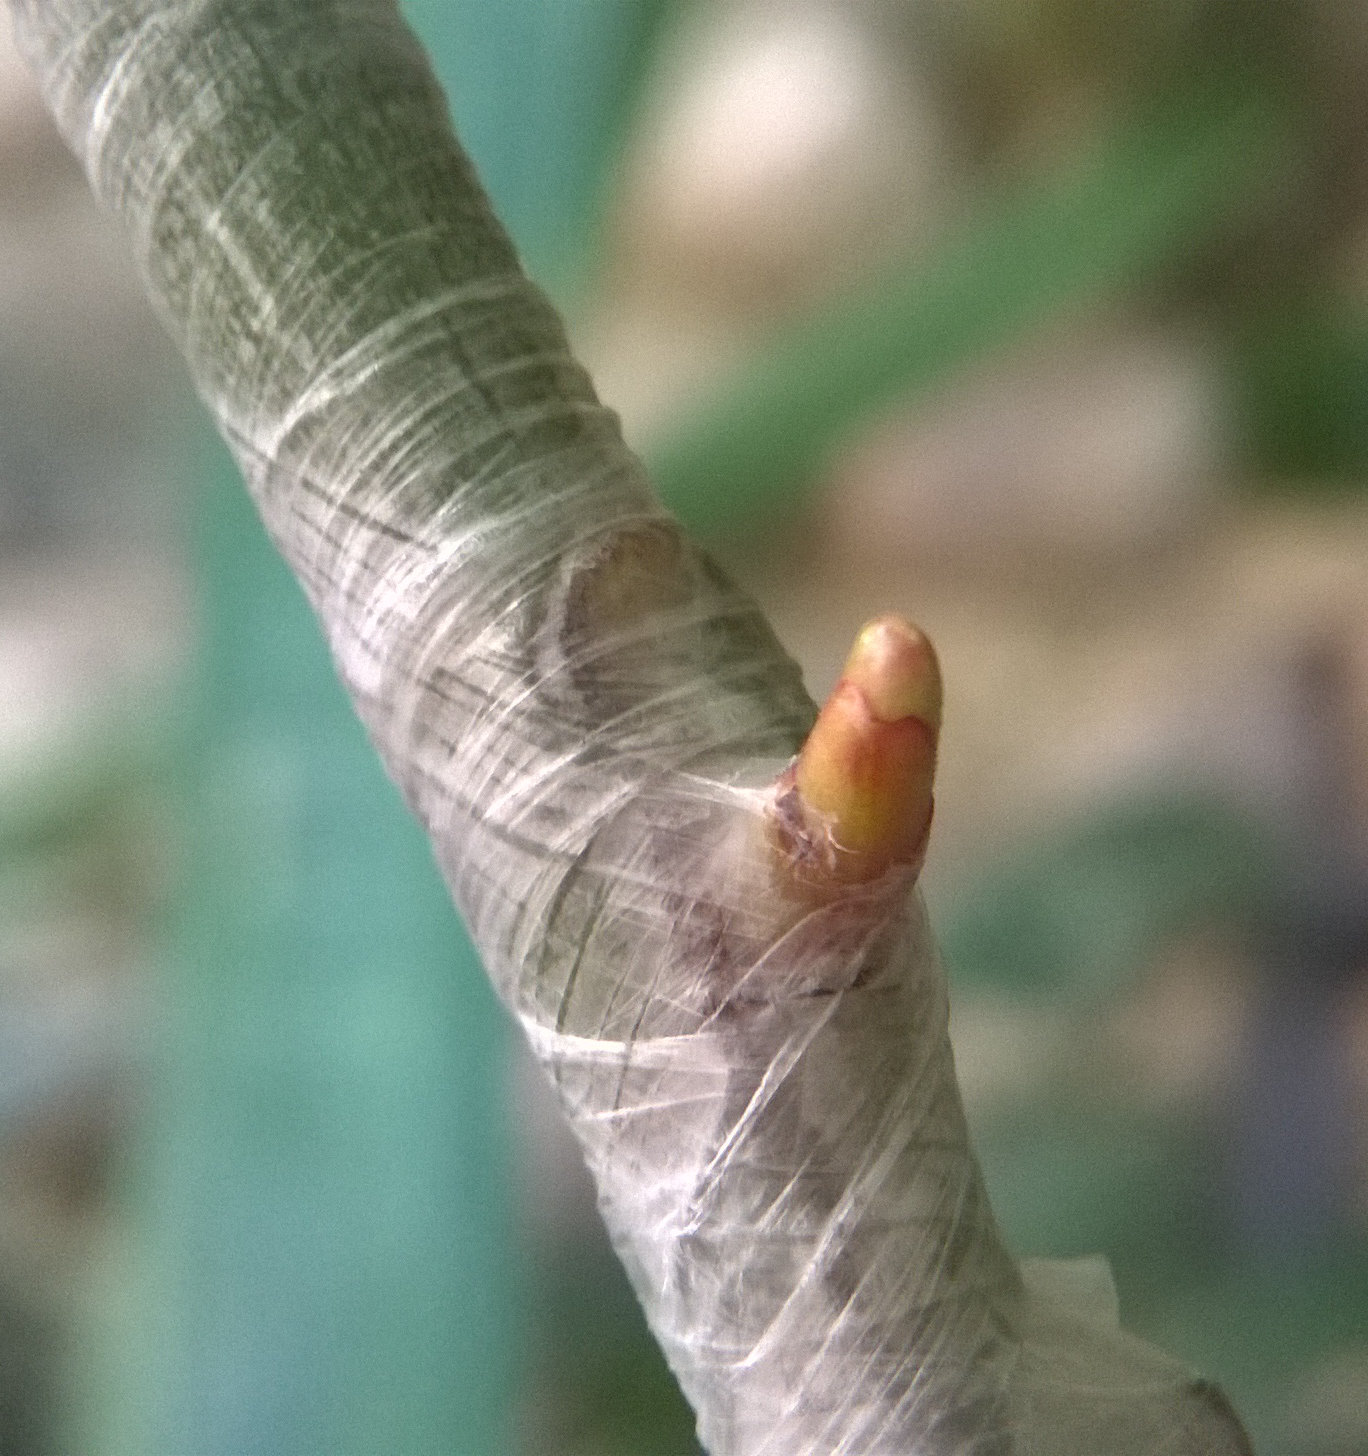
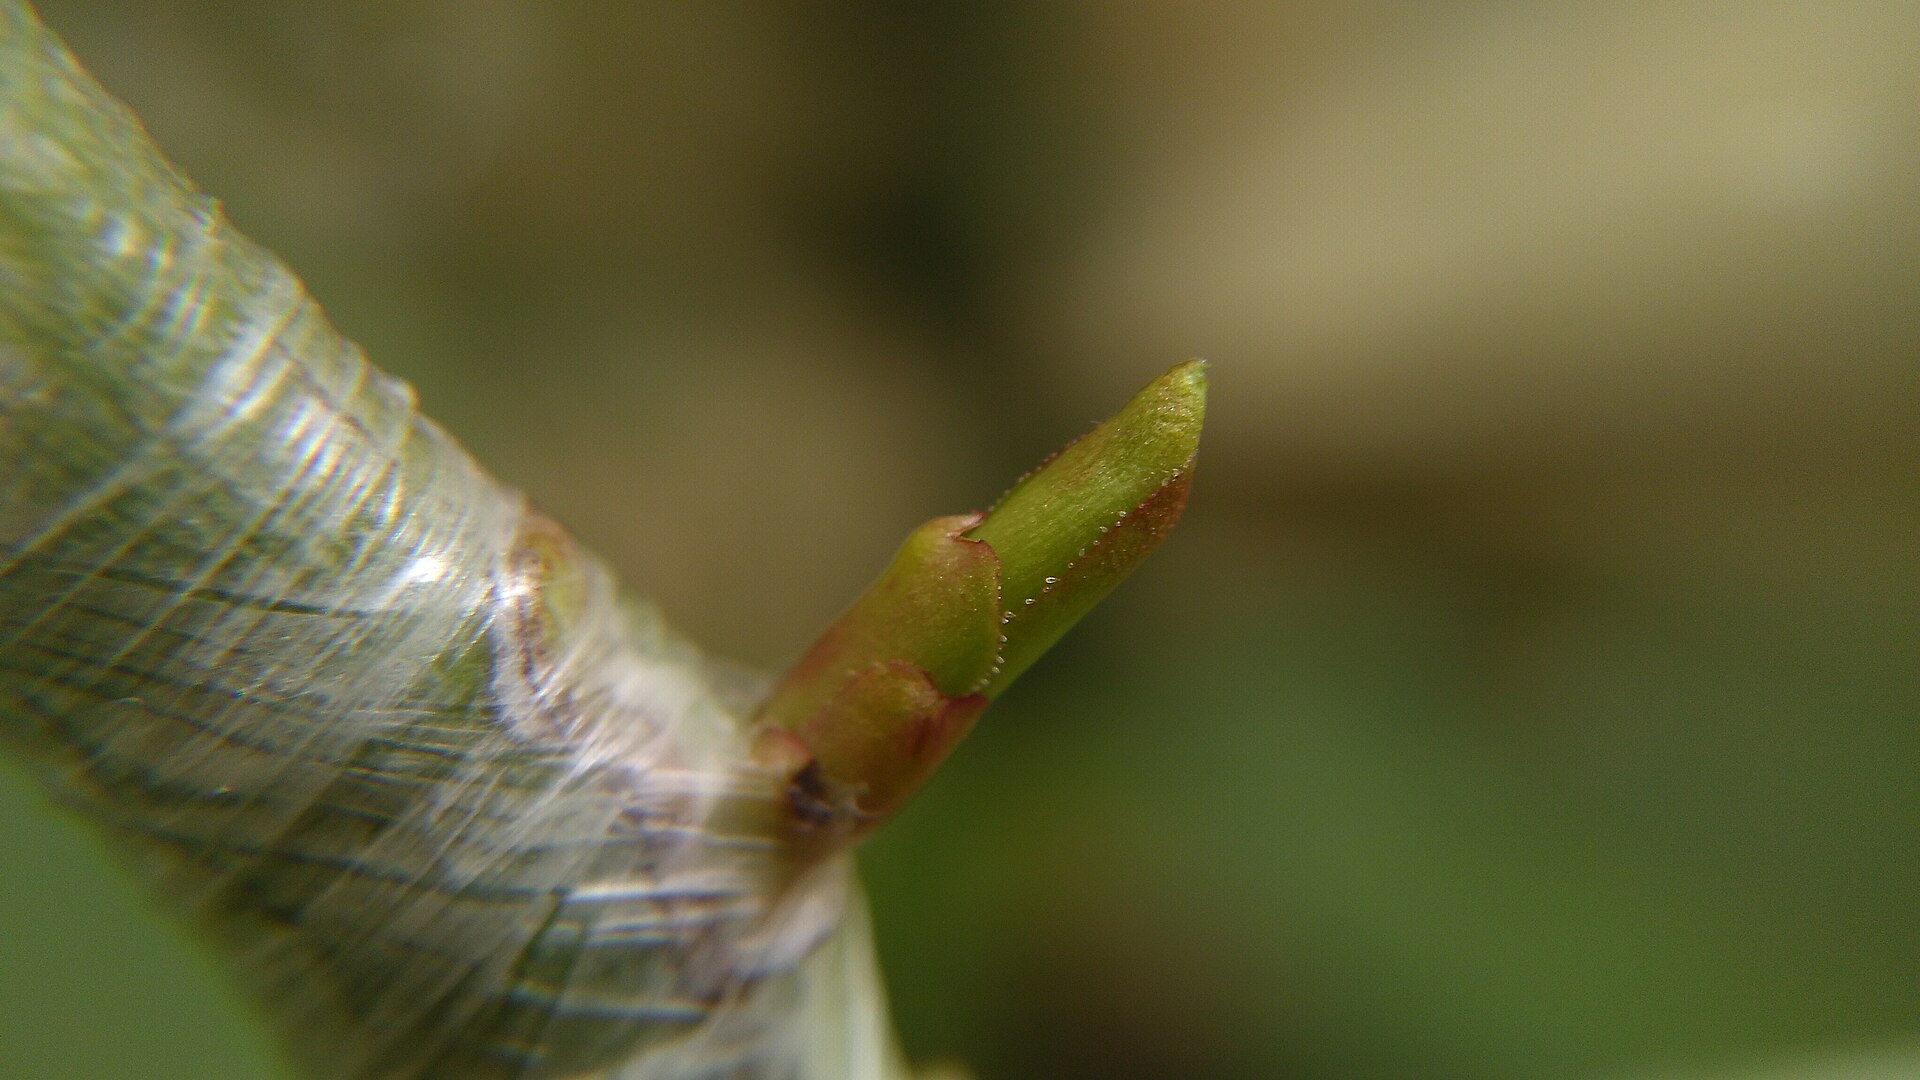
Day 20 · Union healed, tape removed — the bud is alive and beginning to swell. Within weeks it will push new growth.

Pruning sealer being applied to a fresh cut wound
Wound protection Pruning sealer on a fresh cut. For citrus in SoCal, 50/50 white latex paint and water is preferred — it protects from sunburn and dries to a breathable film.
Historical pruning manual showing branch architecture and cut placement
Branch architecture From Pekrun, 1919. Understanding where buds sit on a branch determines where to cut, notch, or graft. Every technique targets the same biology.
Chapter Five

The recovery journey

Five phases timed to Southern California's coastal seasons. Each builds on the last. Tap any phase to expand the action steps.

This Week · Apr–May

Assess & Secure

Map the affected side with the scratch test, eliminate residual beetle threat, protect exposed bark.

+ Expand
  • Scratch-test all major branches; map with colored tape
  • Final beetle inspection (entry holes, fresh frass)
  • Remove confirmed dead wood — but leave shade-providing dead uppers
  • Whitewash exposed bark with 50/50 latex paint immediately
  • Locate and inspect bud union; remove any rootstock suckers
i
ii
Now → June · Active Stimulation

Wake the dormant wood

Apply the techniques. Fertilize, water deeply, and use heading cuts and notching to stimulate latent buds.

+ Expand
  • Light heading cuts on dormant but live branches
  • Test bark notching on 2–3 branches above dormant buds
  • Apply balanced citrus fertilizer (N-P-K + zinc + iron)
  • Begin biweekly seaweed/kelp foliar spray program
  • Deep-water at the drip line, 1–2× per week
  • Apply 3–4″ mulch (keep clear of trunk)
  • Never remove more than 20–25% of canopy at once
June–July · Evaluate

Assess the response

Identify which branches woke up. Mark non-responders as candidates for fall grafting.

+ Expand
  • Document any new leaf flush — even small bud swell counts
  • Mark branches still bare despite green cambium for fall grafting
  • Avoid major pruning in summer — heat stress + leafminer pressure
  • Continue deep watering as summer intensifies
  • Monitor for new sucker growth weekly
iii
iv
Sept–Oct · Grafting Window

Restore by graft

If branches haven't responded, fall is the second prime grafting window — bark slips, weather supports union formation.

+ Expand
  • Source budwood from vigorous side or certified disease-free tree
  • Perform T-bud or chip-bud grafts on selected branches
  • Coat all cuts with grafting wax; whitewash the area
  • Inspect after 2–3 weeks for graft take
  • Apply second annual fertilization in late August
Next Spring · Year Two

Consolidate & shape

Now you can do the major canopy work — remove dead framework that was shading recovery wood, rebalance the tree.

+ Expand
  • Major canopy shaping in late February through March
  • Remove dead upper framework now that lower wood has its own leaves
  • Selectively reduce vigor on the strong side to balance recovery
  • Annual fertilization program begins properly
  • Celebrate — your tree has its second life
v
Chapter Six

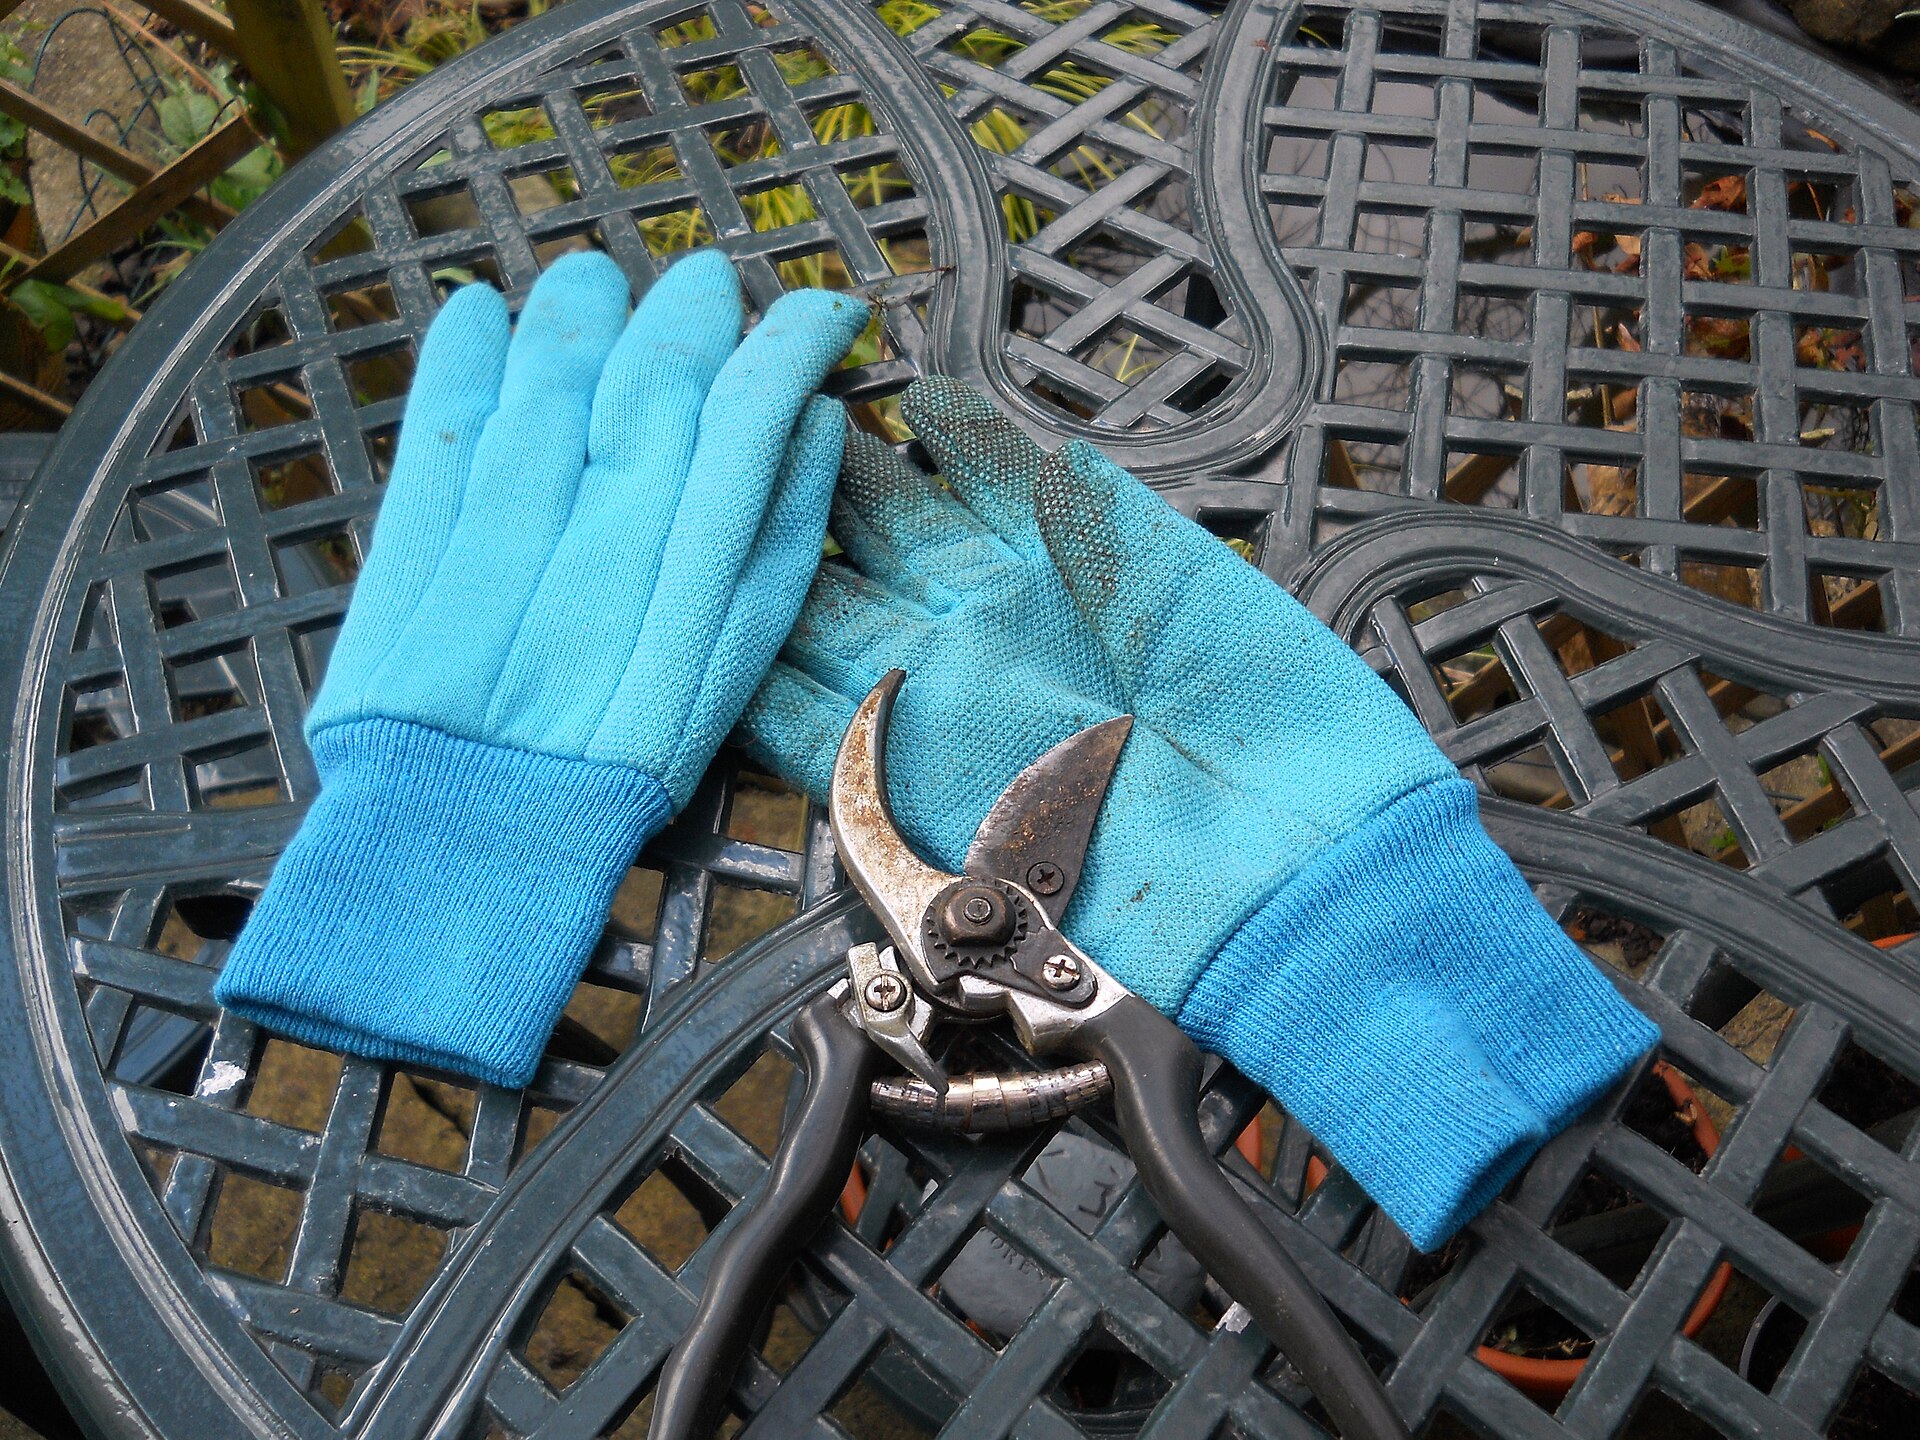
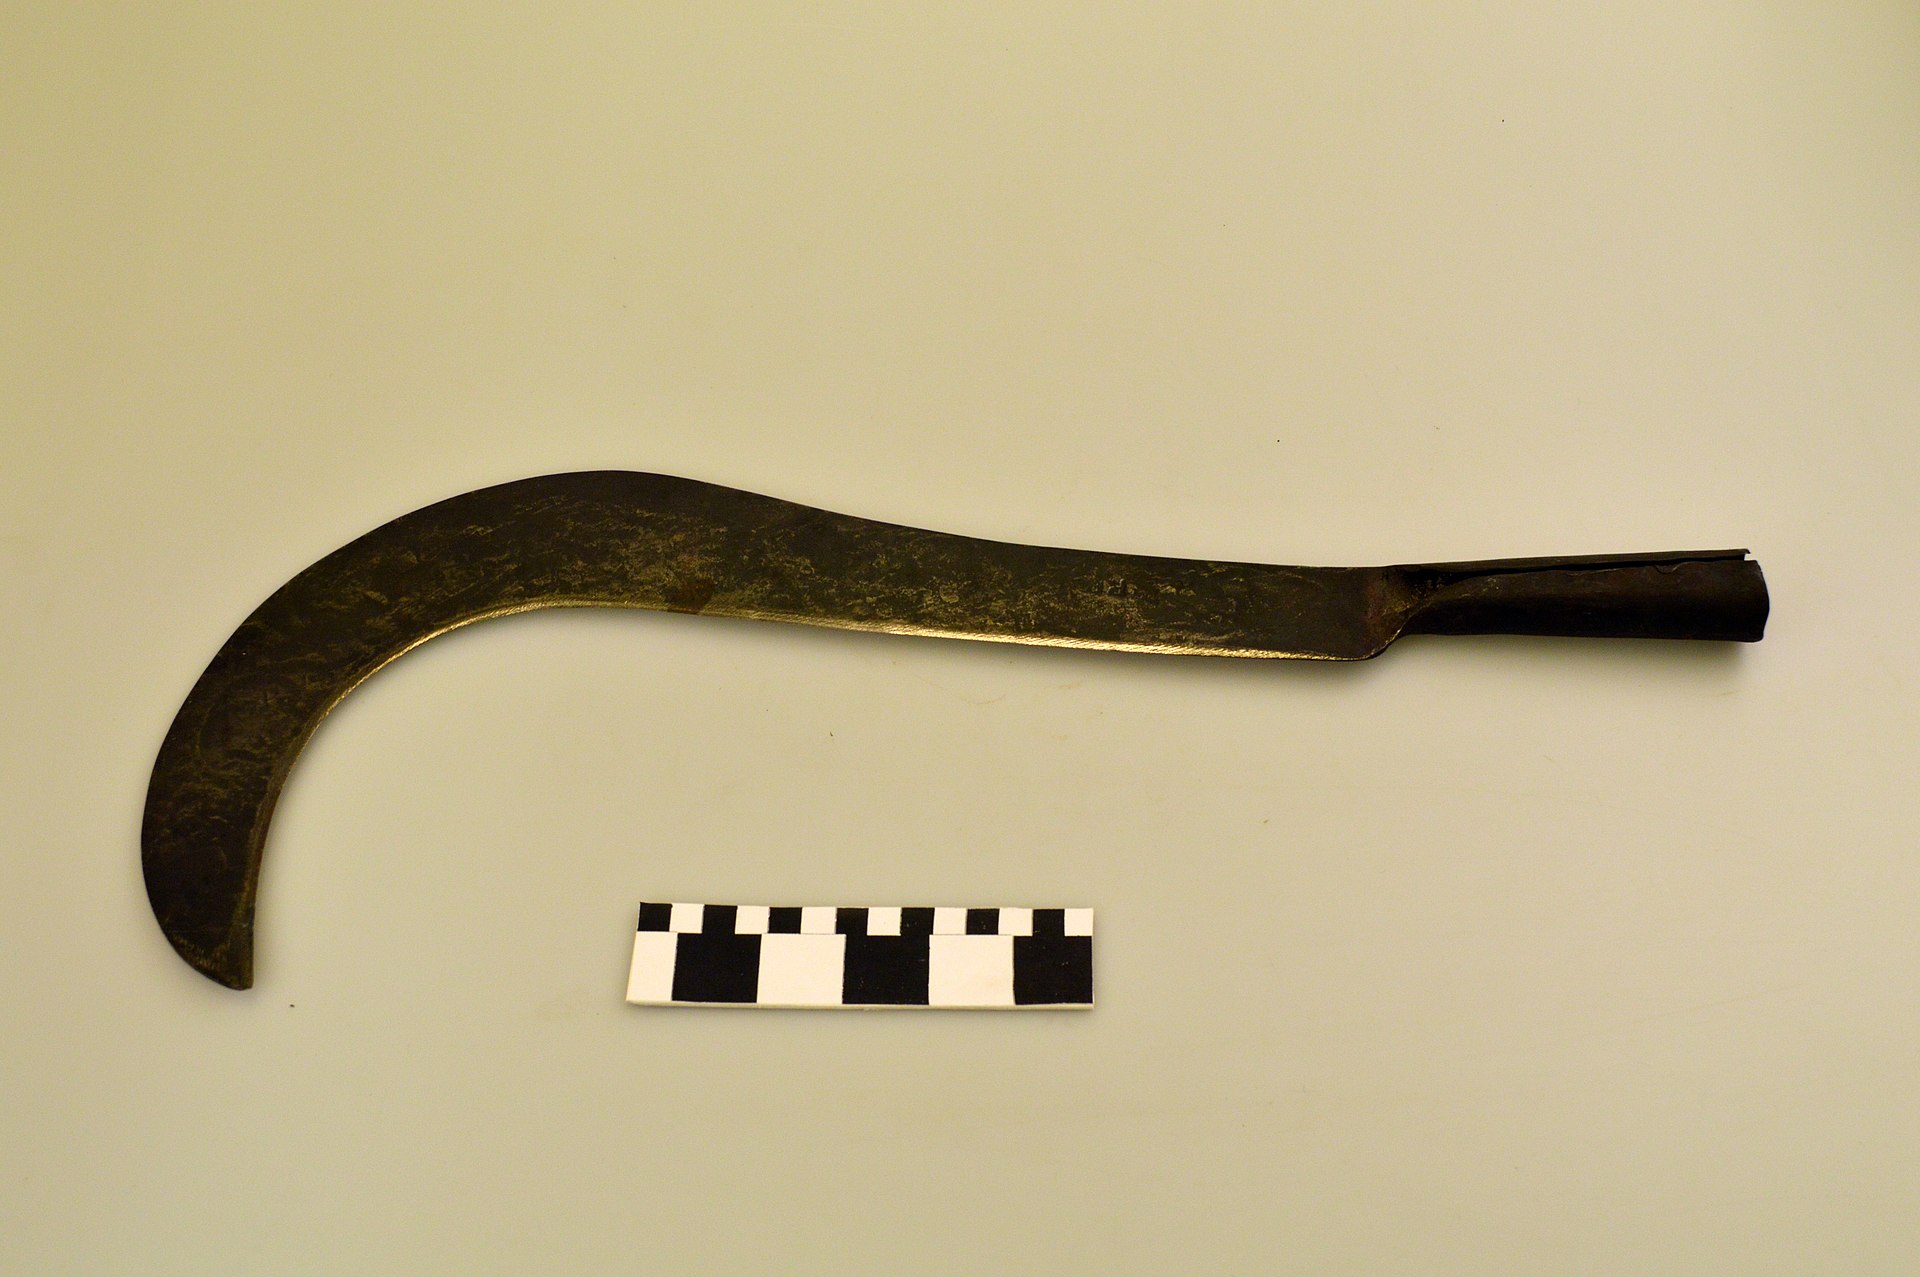
The essential toolbox

Sharp tools, clean cuts, healthy tree. Dull blades crush instead of cutting and create wounds that resist healing and invite disease.

What you'll need

A handful of items will see you through every recovery phase — from initial assessment to fall grafting

Bypass pruning shears
Bypass Pruners
Sharp, scissor-action shears for clean cuts on branches up to ¾"
Essential
Long-handled loppers
Loppers
For larger branches up to 2" — long handles give leverage
Essential
Grafting and budding knife
Budding Knife
Razor-thin blade for grafting and bark notching — sharpness is critical
Essential
Painting tree trunk white for sun protection
White Latex Paint
Mixed 50/50 with water — protects exposed bark from sunburn
Essential
Organic compost fertilizer
Citrus Fertilizer
Balanced NPK with zinc and iron — apply at drip line
Essential
Grafting tape on a budded plant
Budding Tape
Thin polyethylene wrap — secures grafts without cutting bark
Grafting Only
Kelp and seaweed on the coast
Seaweed Extract
Foliar biostimulant — promotes cell division and bud break
Recommended
Colored flagging tape on a tree branch
Colored Tape
For mapping live vs. dead branches during the scratch test
Helpful

A tree is not in a hurry. Recovery happens on its own clock — your job is to create the conditions and then have the patience to wait.

— On the Practice of Restoration
Chapter Seven

Your action checklist

Everything from the field manual, distilled into actionable items. Check them off as you go — your progress is tracked and saved in your browser.

0 of 22 complete

Immediate · This Week

Apr–May · Assess & Secure
Scratch-test all major branches on the affected side; map results with colored tape
Locate and identify the bud union on the trunk
Remove any rootstock suckers below the bud union (cut at origin)
Final beetle inspection: check for new entry holes and fresh frass
Remove confirmed dead wood (excluding shade-providing uppers)
Whitewash all exposed bark with 50/50 latex paint and water

This Month · Active Stimulation

Apr–June · Wake the Dormant Wood
Apply balanced citrus fertilizer (with zinc and iron) at the drip line
Apply 3–4 inch organic mulch layer (keep 6 inches clear of trunk)
Perform light heading cuts on dormant but live branches
Test bark notching on 2–3 branches above dormant buds
Begin biweekly seaweed/kelp foliar spray program
Set up deep-watering schedule at the drip line (1–2× per week)

Mid-Summer · Evaluate

June–July · Assess the Response
Document branches that pushed new growth flushes
Mark non-responding branches as candidates for fall grafting
Continue weekly inspection for new rootstock suckers
Avoid heavy pruning through peak summer heat
Apply second fertilizer round in late August

Autumn · Grafting Window

Sept–Oct · Restore by Graft (If Needed)
Identify 2–3 non-responding branches as graft candidates
Source budwood from vigorous side or certified disease-free tree
Perform T-bud grafts; wrap with budding tape; whitewash area
Inspect grafts after 2–3 weeks for take (plump green = success)
Plan major canopy shaping for next February–March